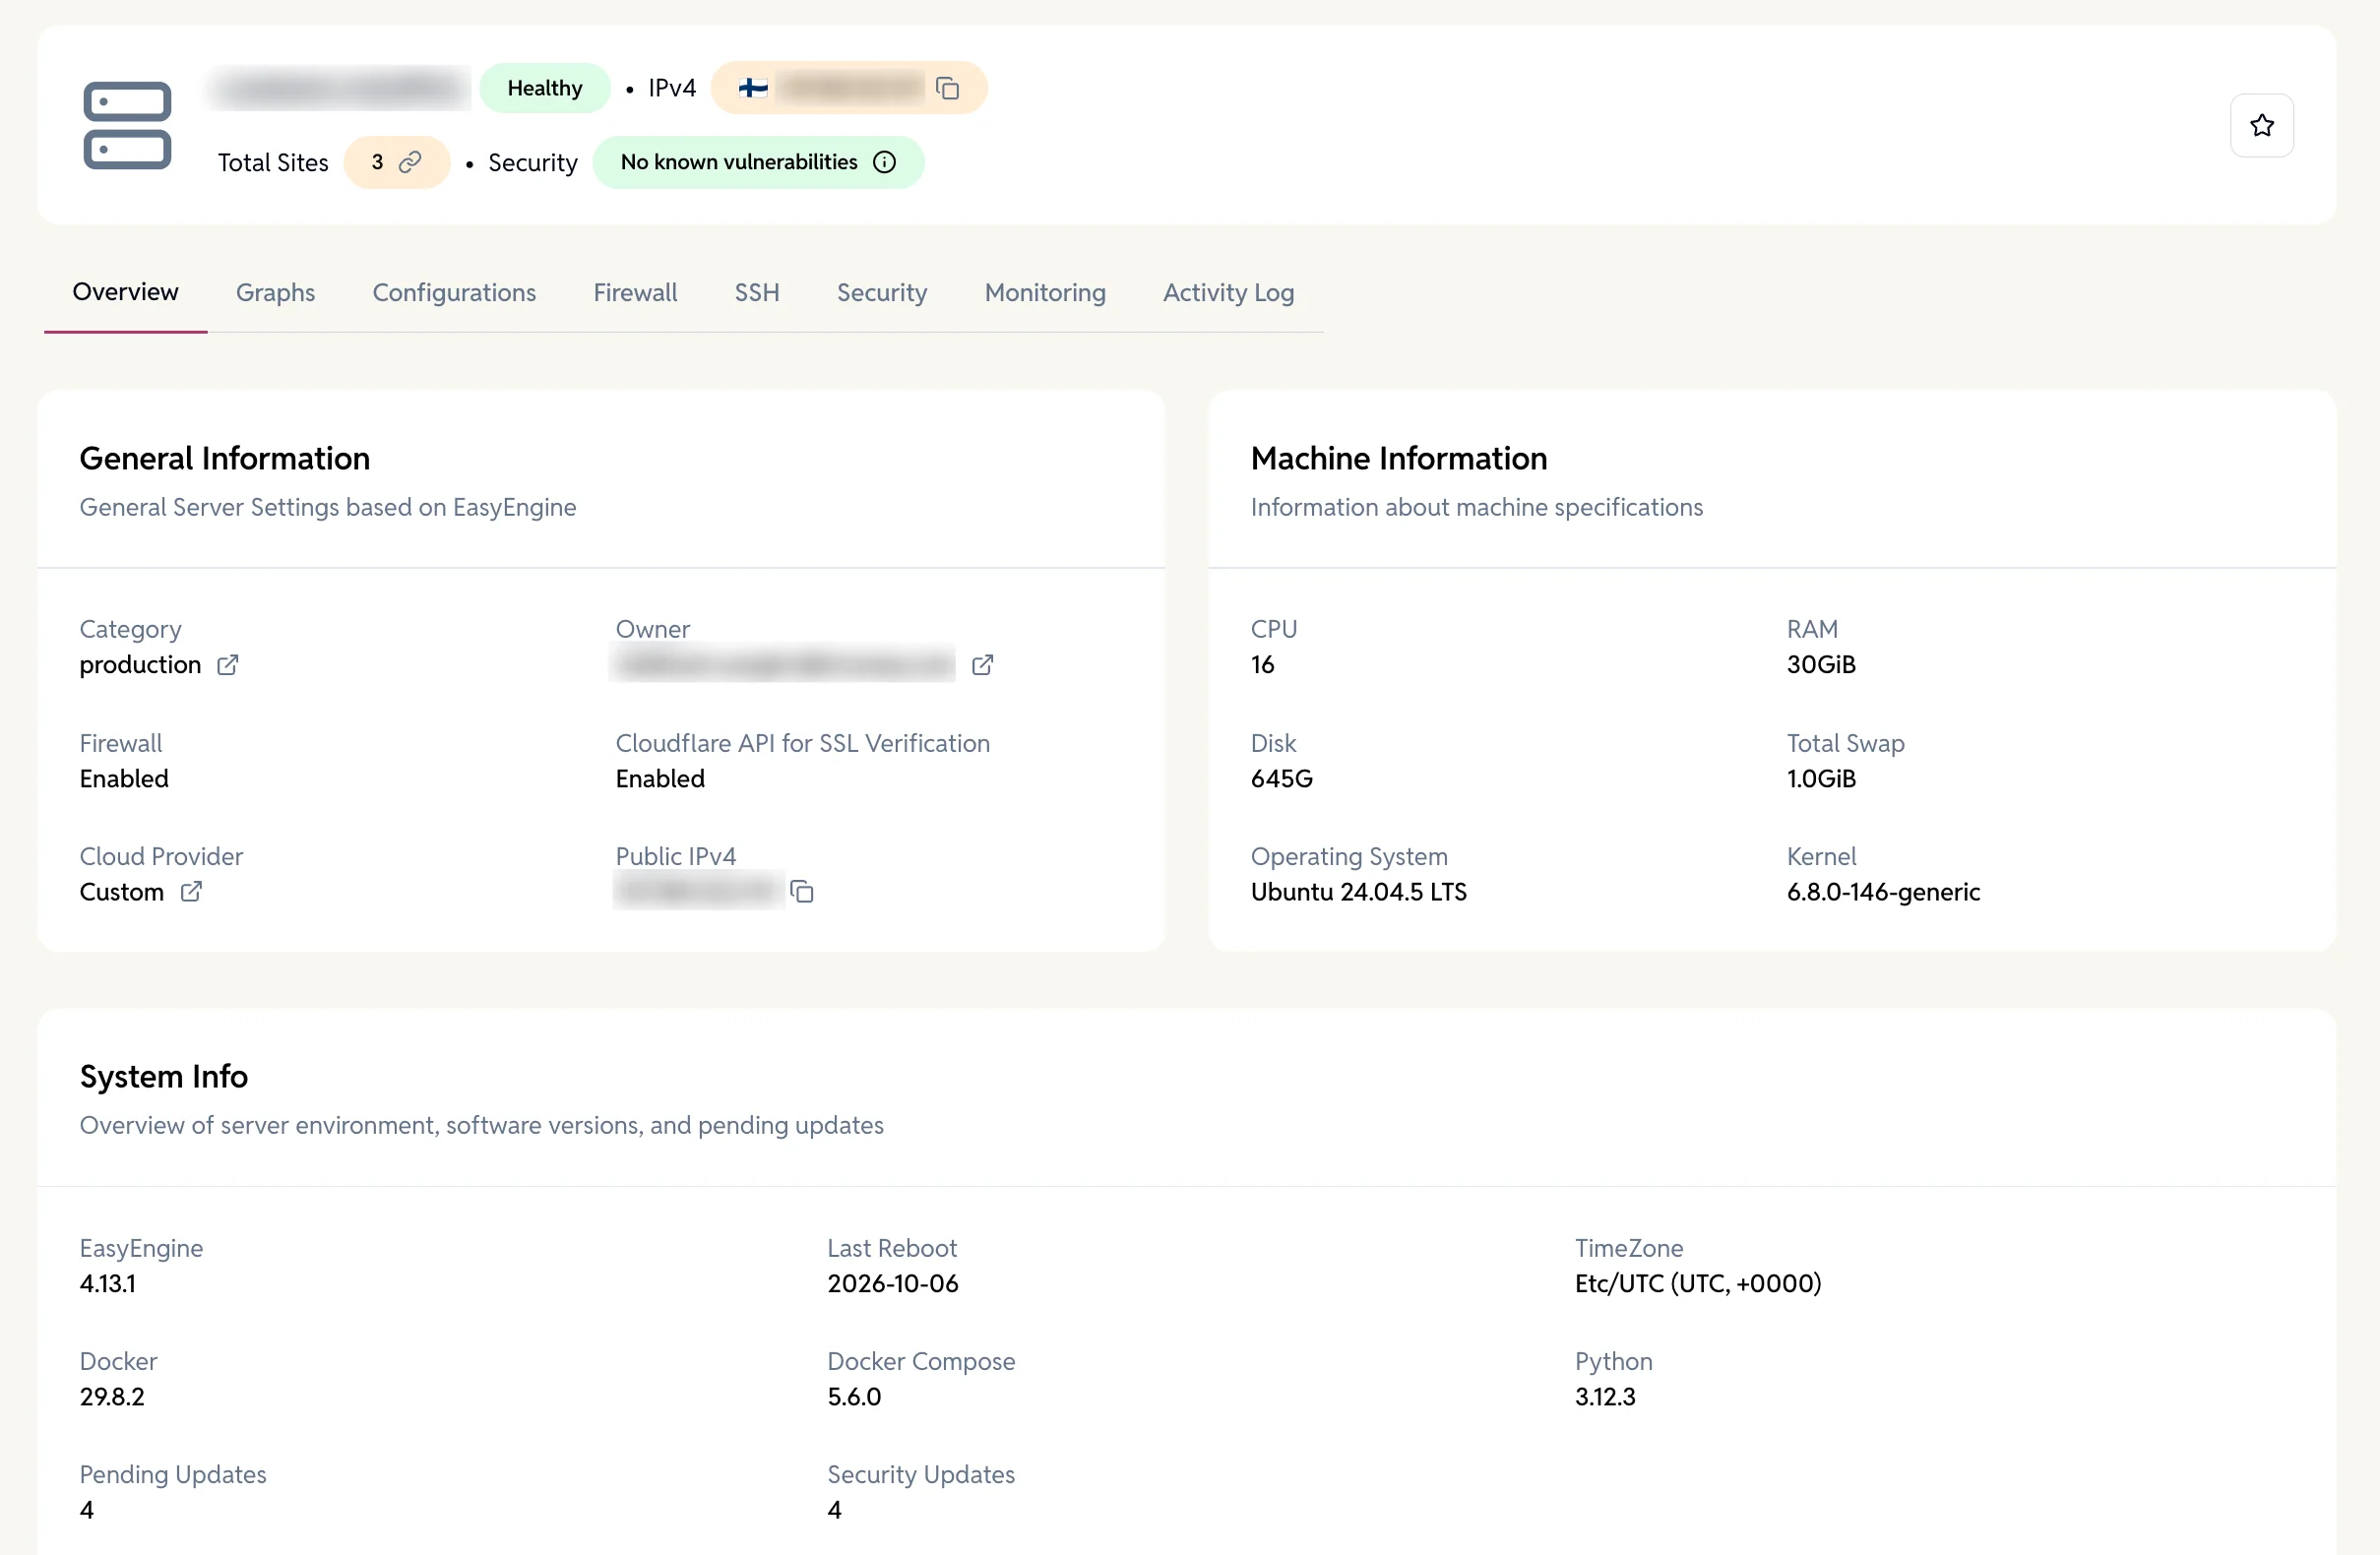
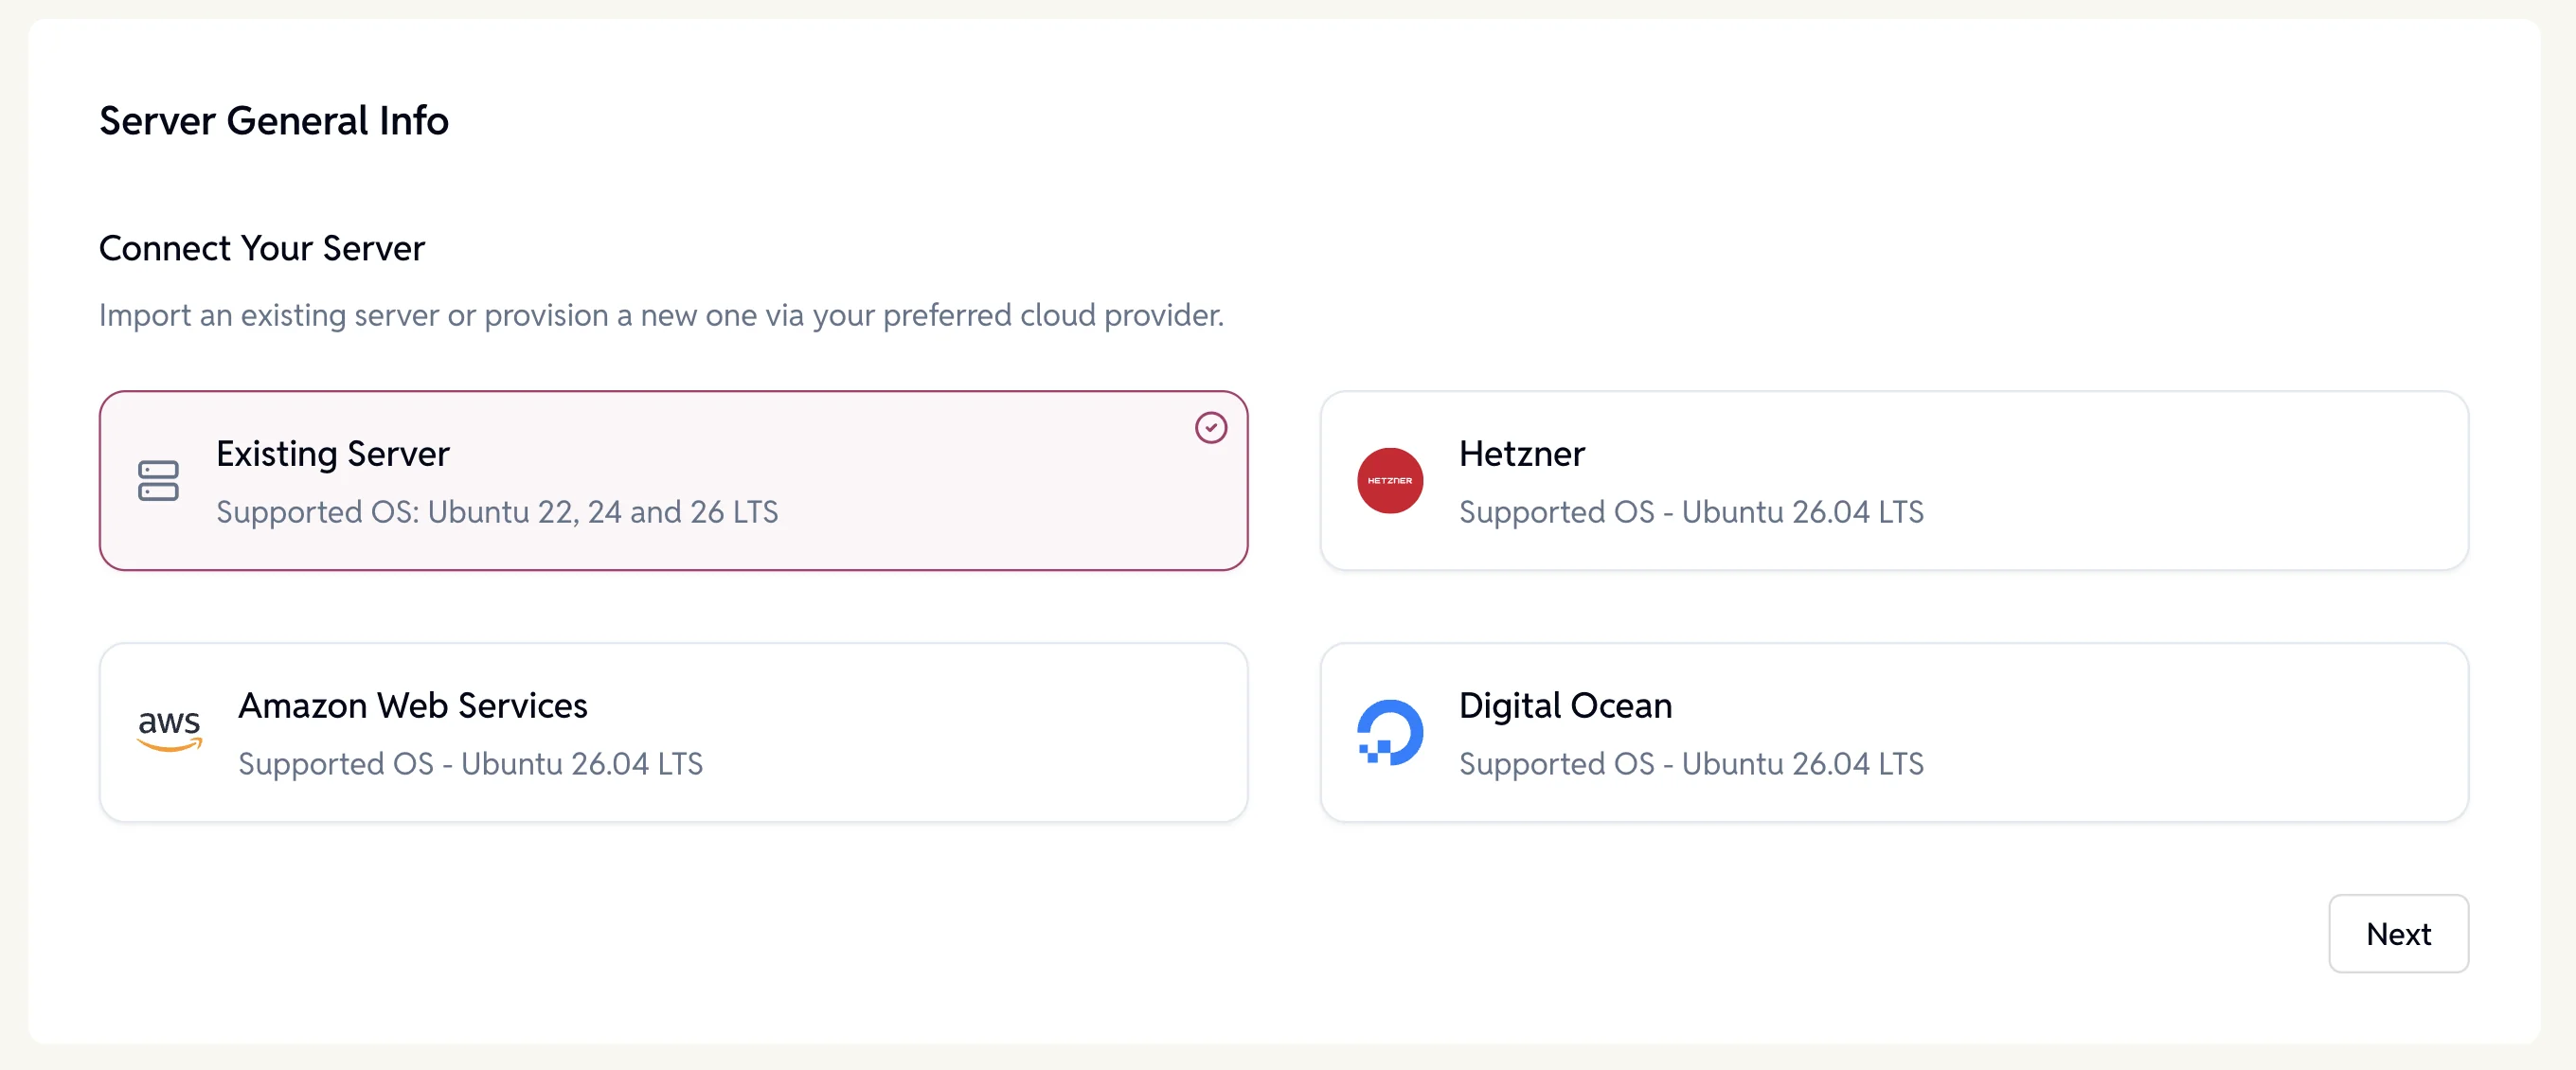
Use this option if you want to connect a fresh Ubuntu server or already have an existing EasyEngine CLI-installed server that meets the below requirements.
Supported OS:
- Ubuntu 24.04 or 26.04 (for new servers)
- Ubuntu 22.04, 24.04, or 26.04 (for EE CLI installed servers)
- CLI version 4.10 or higher
Steps to Add the Server:
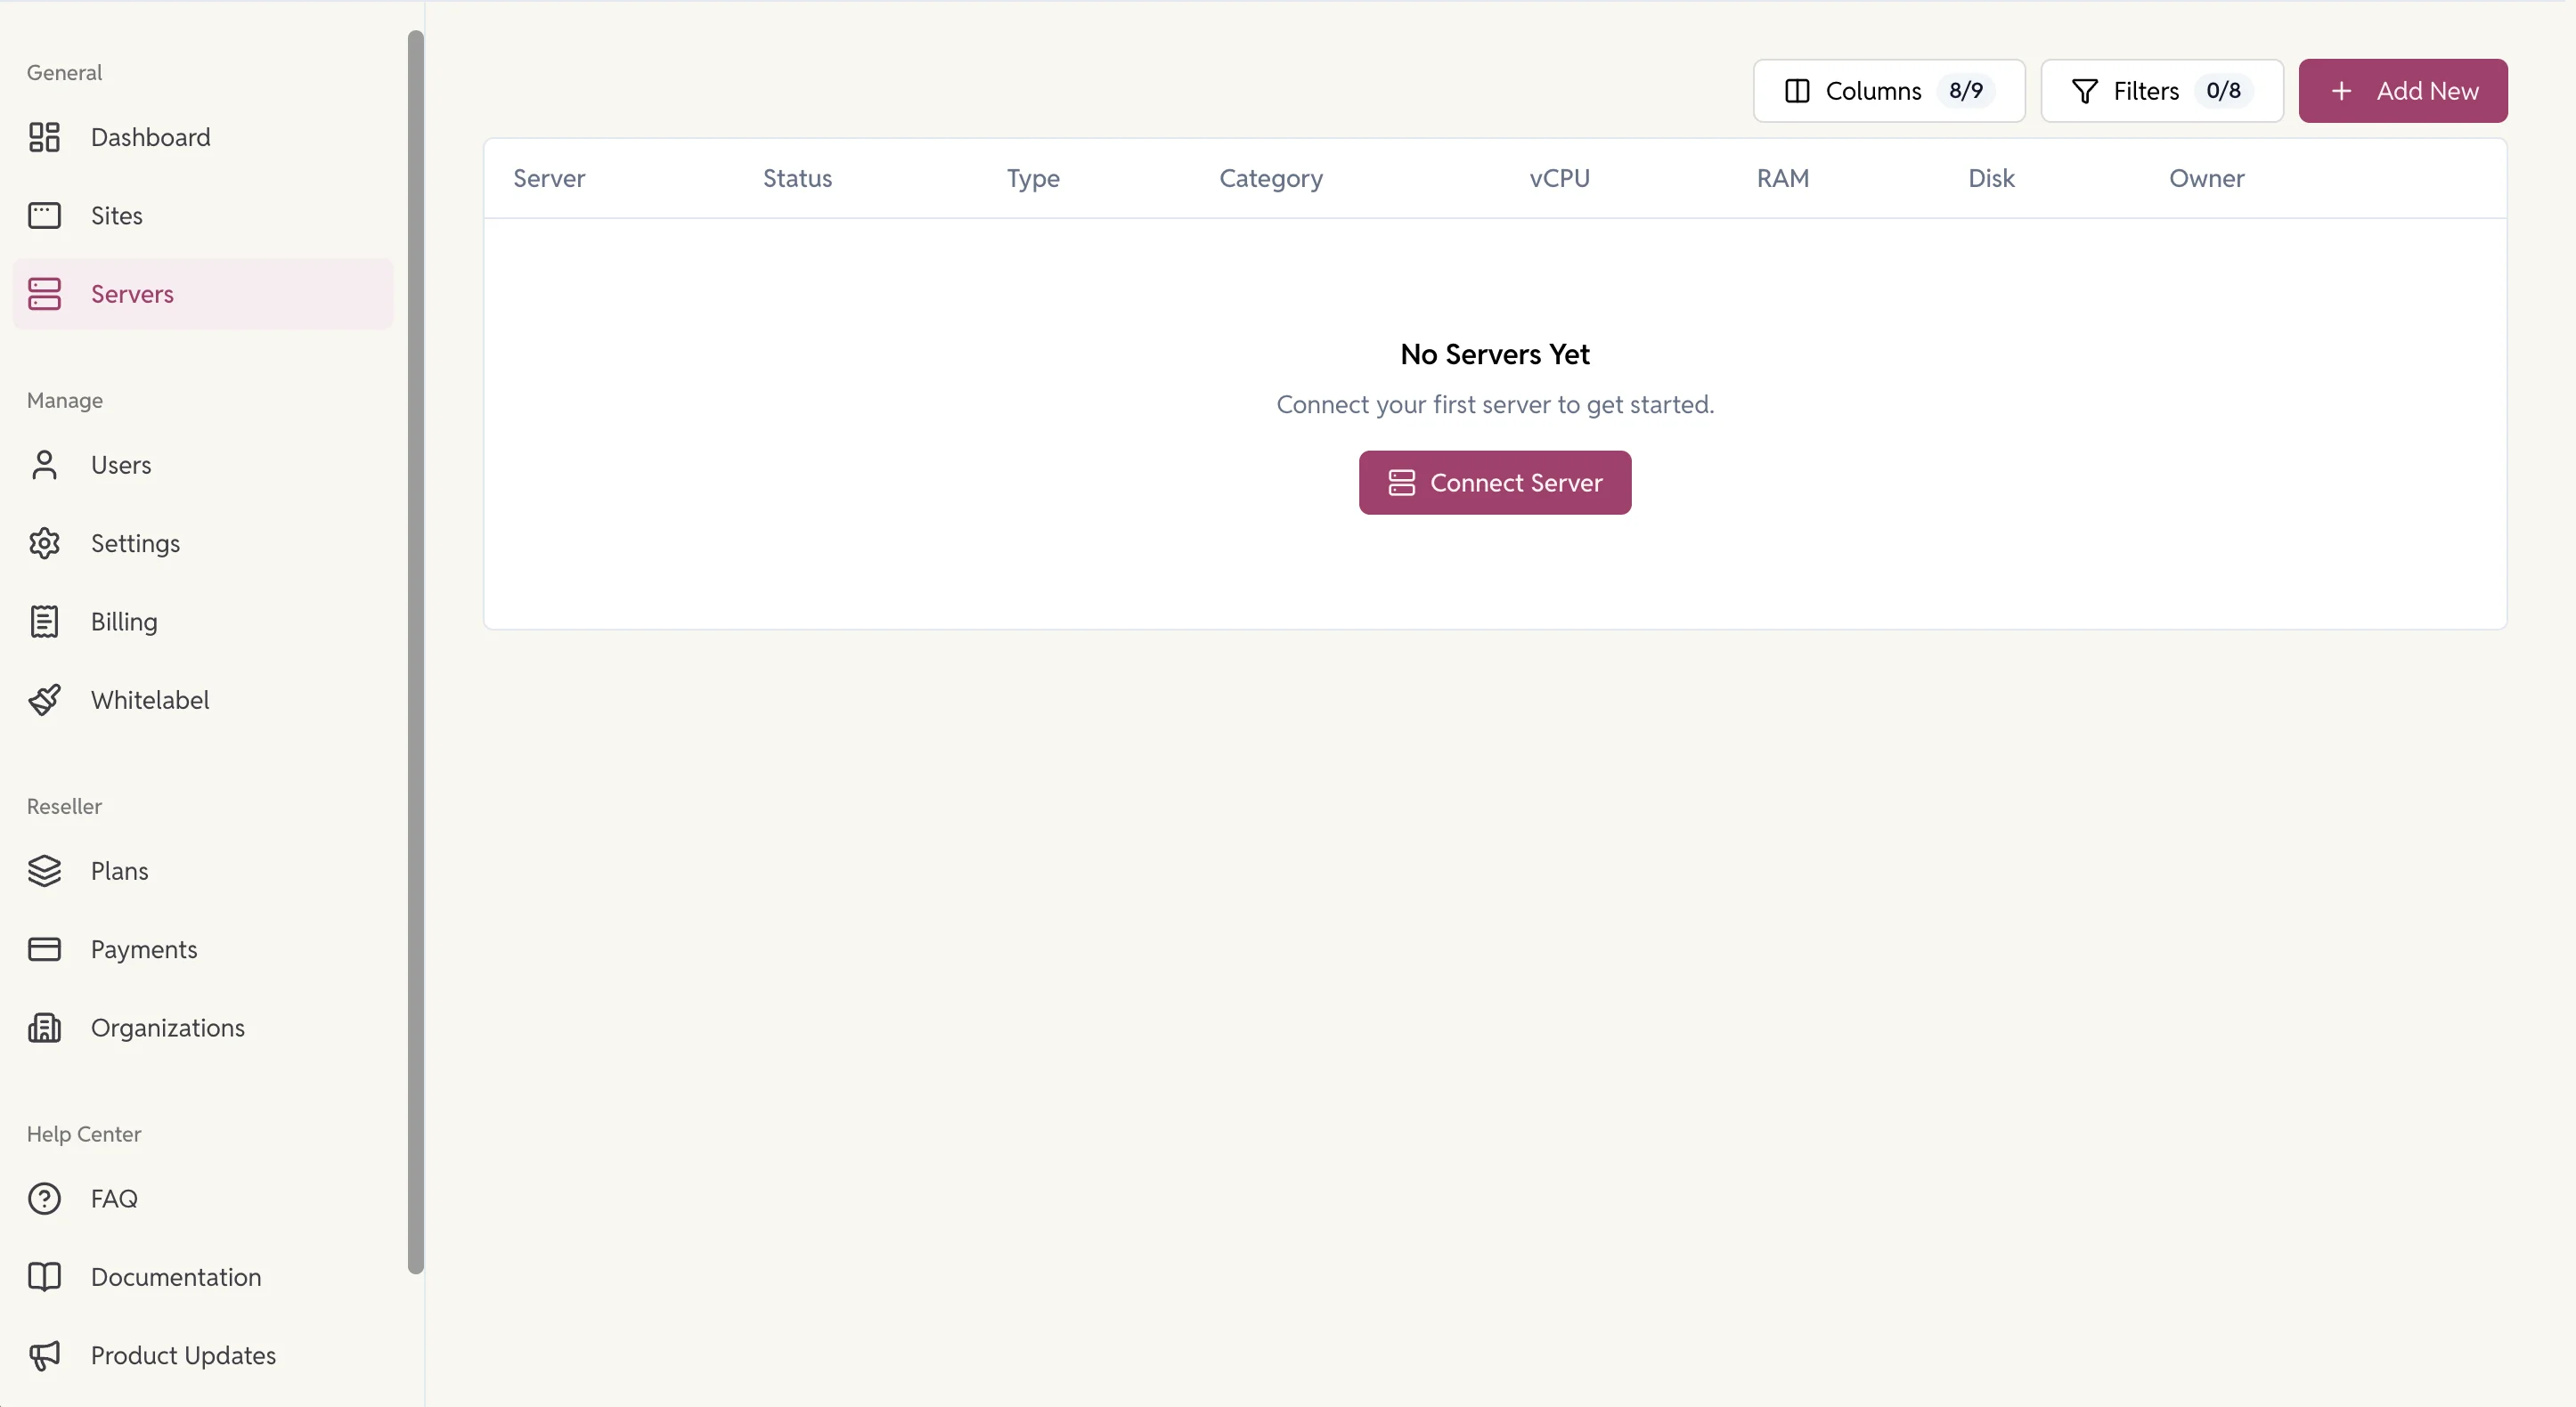
1. Go to Servers > Click on the ‘Add New’ button.
2. Choose “Existing Server” and click next
3. Configurations:
Fill in Server Details on the Dashboard
- Server Name: Enter a name to identify your server.
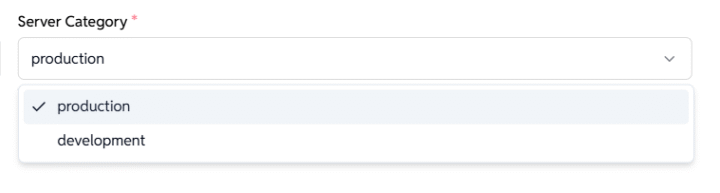
Example: example.com or sub.example.com - Server Category: Choose the type of setup.
development/ production
- Public IPv4: Provide the public IP address of the server.
Example: 65.21.123.45
Grant SSH Access to EasyEngine
To let EasyEngine connect securely, you need to add its public SSH key to your server.
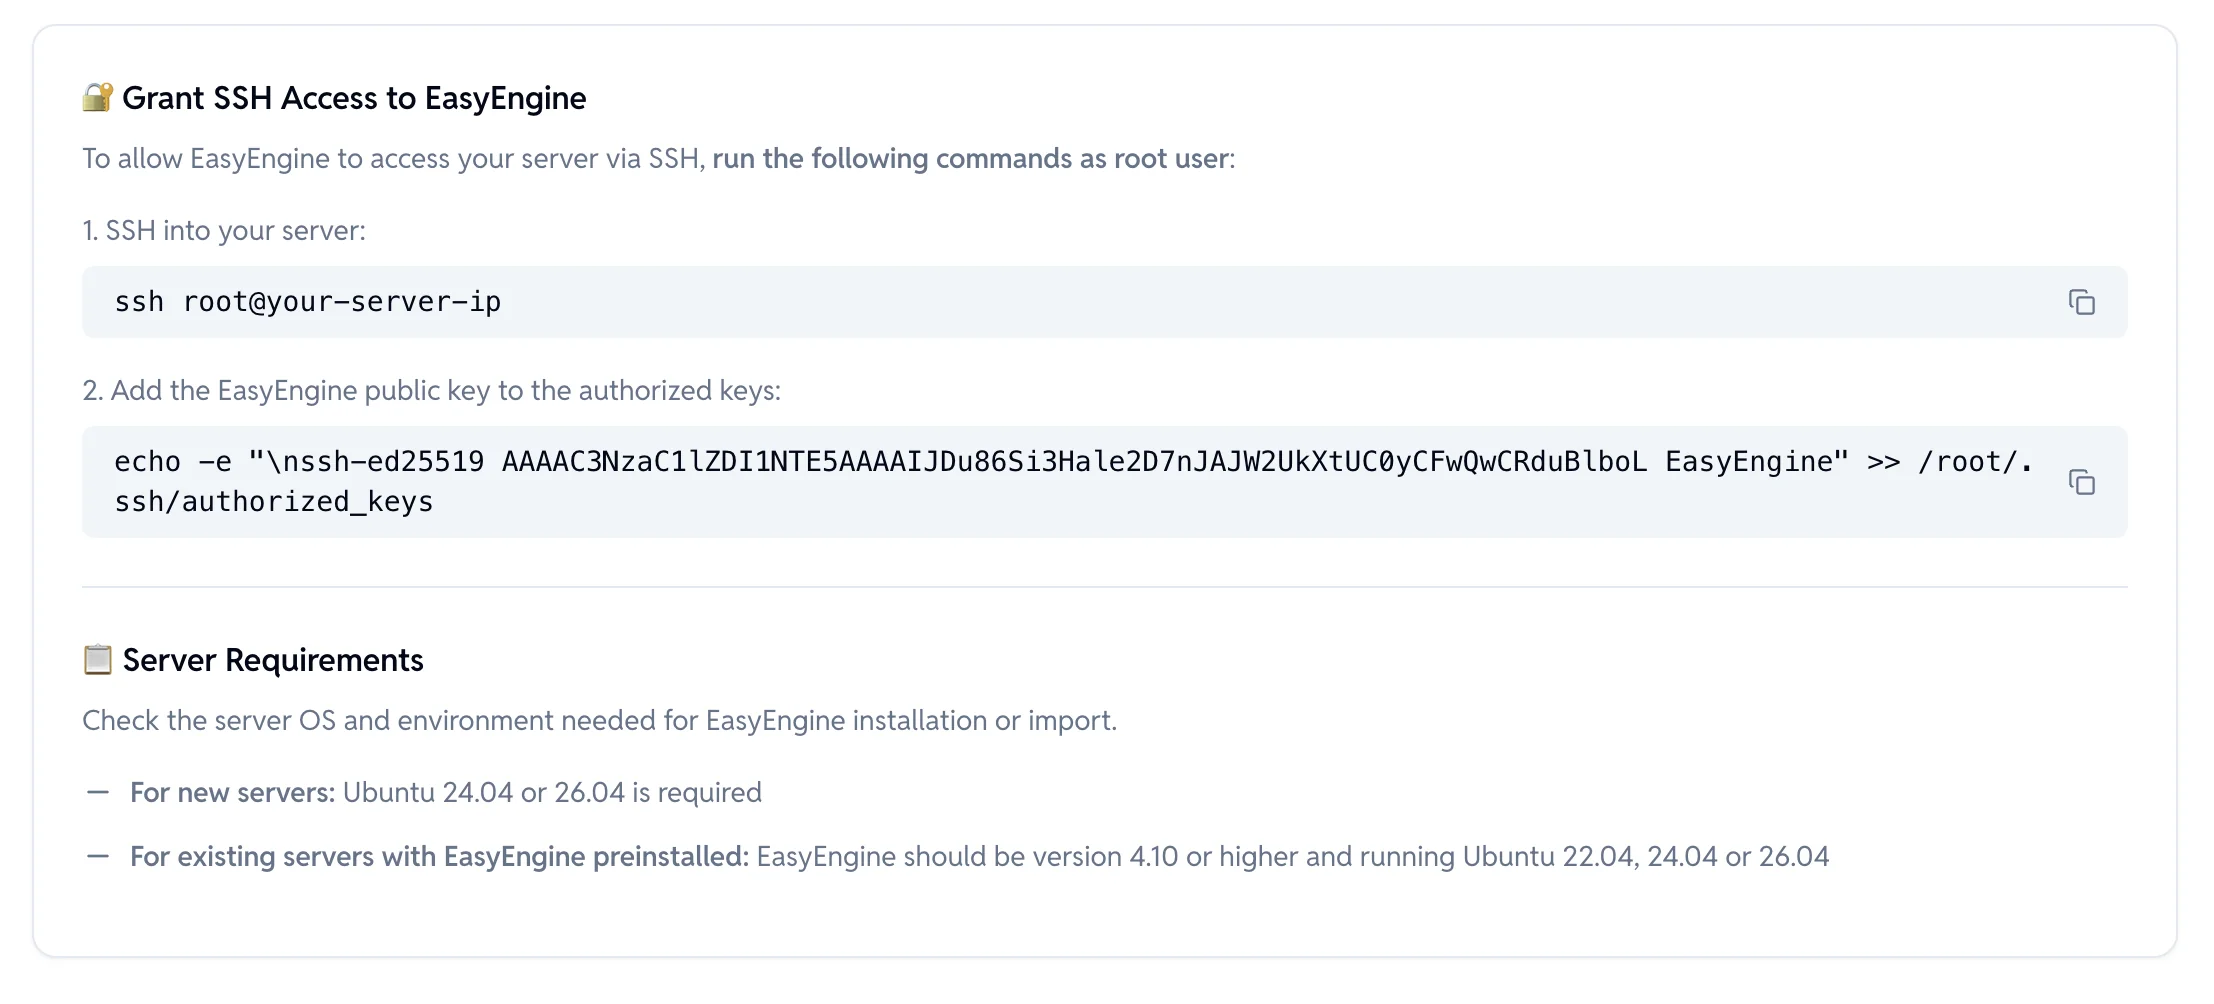
SSH into your server as root:
ssh root@your-server-ip
Run the command below to add EasyEngine’s public key:
echo -e "\nssh-ed25519 AAAAC3NzaC1lZDI1NTE5AAAAIJDu86Si3Hale2D7nJAJW2UkXtUC0yCFwQwCRduBlboL EasyEngine" >> /root/.ssh/authorized_keys
Verify your organization’s control of the server: copy the command shown in step 3 of the Grant SSH Access to EasyEngine card, Verify your organization’s control of this server, and run it on the server as root. It saves your organization’s verification key at /root/ed_security/import_key, in a folder only root can open. Paste the command exactly as shown, because the Dashboard checks the file’s owner, permissions and length. The same command is on the Server Import Key card under Settings → Auth. Only organization owners and admins can see it. The key is unique to your organization, stays the same for every import, and is separate from the Access Token. Keep it private.
Your server is now ready for EasyEngine to connect.
Important note: Server Requirements:
- For new servers: Must run Ubuntu 24.04 or 26.04
- For existing servers with EasyEngine preinstalled:
- Must run EasyEngine v4.10+
- Supported OS: Ubuntu 22.04, 24.04, or 26.04
4. Test Connection:
Once these steps are complete, you can proceed to click on ‘Test Connection’ from the dashboard. The Dashboard reads your organization’s verification key over SSH, and checks it again when you submit the server. If the key is missing or doesn’t match, you’ll see “Server ownership verification failed. Run this organization’s verification command on the server as root, then try again.” Check that the EasyEngine public key is on the server, run the verification command again as root, and retry.
Need help? Contact us via helpdesk
Secure & Access Servers
Once provisioned, you’ll be able to:
- SSH into the server by adding SSH keys at the organization level or at the individual server.
- Create and manage WordPress or other PHP sites.
- Enable Firewall and block malicious traffic.
- Manage server configurations
- Check on Security Updates and WordPress Related Vulnerabilities found for the sites
- Get Graphs for Server Statistics
- And many more to come…