Welcome to the “Manage EasyEngine Sites” guide – your central hub for controlling and configuring all aspects of websites you host. Whether you’re using WordPress, PHP, or static HTML, this page helps you quickly find where to update site settings, manage security, access tools, and control site-level functions – all through the web dashboard (no command-line required).
Here you’ll learn how to:
- View essential site details (status, owner, PHP/WordPress version, database info, file paths, SSH/SFTP credentials)
- Configure site settings like SSL, caching, authentication, admin-tools, and mail testing
- Execute administrative actions like changing site owner, updating PHP or WordPress version, resetting credentials, or refreshing site metadata
- Manage advanced settings: upload limits, PHP memory limits, alias domains, backups, SFTP/SSH access, and more
- Use built-in utilities for debugging, database access, backups, logs, and monitoring
Use this documentation page as your one-stop reference for day-to-day site management – whether you’re launching a new site, updating configurations, troubleshooting issues, or handing off ownership.
Site Type – WordPress, PHP, and HTML
Site Header
Displays key information and quick actions for easy access:

- Site Status – Current state of the site (e.g., Live, Setting Up, Failed, etc).
- WordPress Version – Visible for WordPress sites.
- PHP Version – Visible for WordPress and PHP sites.
- HTML Version – Visible for HTML sites.
- Quick Actions –
- Share Site
- Mark as Favourite
- Open phpMyAdmin (Visible for WordPress and PHP sites)
- Open Site
- Save – Once site information is updated, the Save button will be enabled to save the changed site configuration.
Overview tab
The Overview tab is a read-only section that provides essential technical and administrative information about your site. It’s designed to give you a complete understanding of your site’s setup and credentials without allowing direct edits
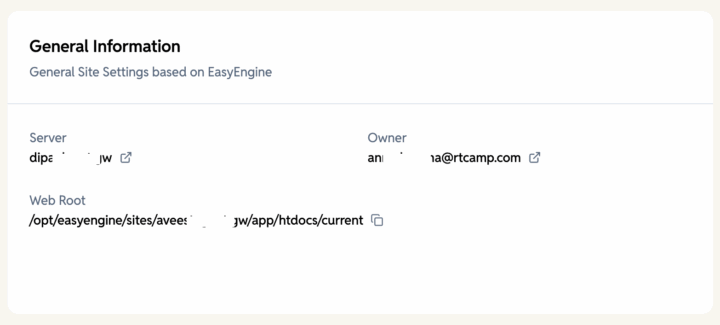
General Information
General site information based on EasyEngine.
- Server – The name of the server on which the site is hosted.
- Owner – The email of the user who is the site owner
- Web Root – Root directory containing website files.
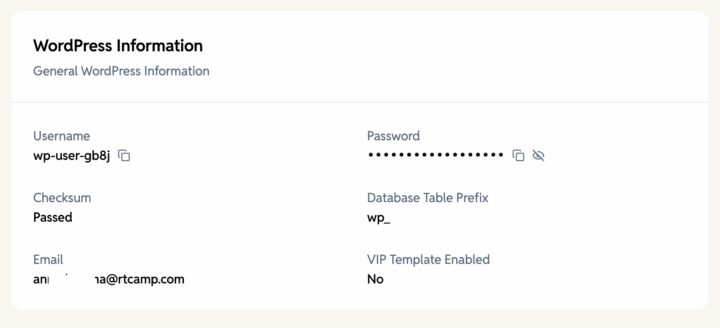
WordPress Information
Core WordPress details such as version and installation info. This is only visible in WordPress sites.
- Username – WordPress admin login name.
- Password – WordPress admin login password.
- Checksum – Verifies WordPress core files for integrity.
- Database Table Prefix – Prefix added to WordPress database tables.
- Email – Admin email used for WordPress site.
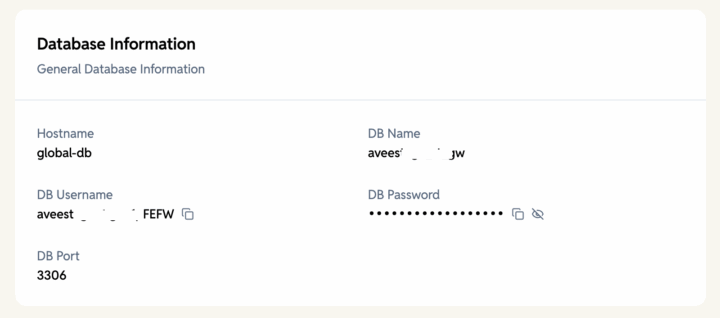
Database Information
Database name, type, and connection details. This information card is only for WordPress sites.
- Hostname – Address of the database server.
- DB Name – Name of the WordPress database.
- DB Username – Name of the user with access to the database.
- DB Password – Password for the database user.
- DB Port – Port used for database connection.
Authentication Credentials
Website HTTP authentication and Admin Tools authentication credentials.
- Type – Authentication method (e.g., Website HTTP, Admin Tools).
- Username – Login username for selected authentication type.
- Password – Login password for selected authentication type.

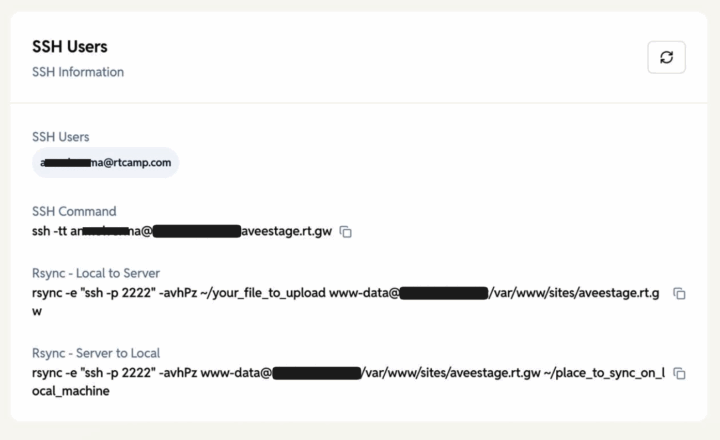
SSH Users
SSH Access Details for Server Connections. You must first enable SSH for the site, and SSH keys should be present (these can be added in your Profile > Settings). After enabling SSH, the “Re-sync SSH keys” option should also be available, and the SSH information should be visible:
- SSH Users – List of users which have enabled SSH.
- SSH Command – Command to connect via SSH.
- Rsync – Local to Server command – Sync files from local machine to server.
- Rsync – Server to Local command – Sync files from server to local machine.
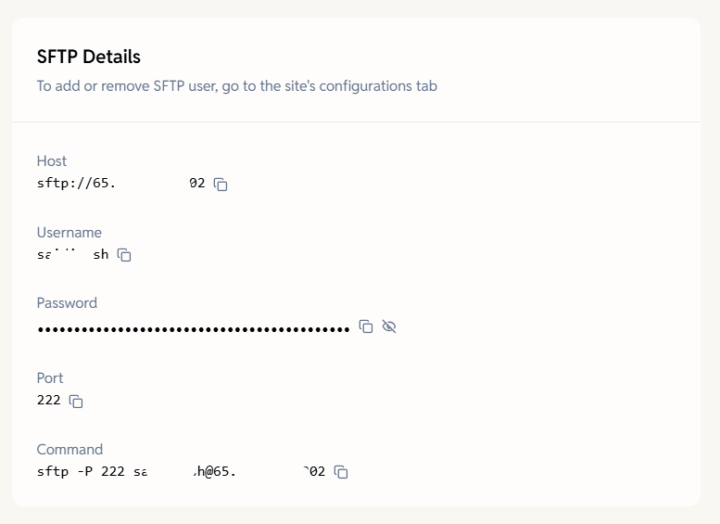
SFTP Access
To access your site via SFTP,
- First go to your site’s Configuration tab in the EasyEngine Dashboard and enable SSH access to this site under Admin Actions.
- Click Add User, and your SFTP credentials (username, password, and host) will be automatically generated – you can view them anytime under the Overview tab in the SFTP Details section.
- To remove or revoke access, simply disable SSH access again from the same section.
Configurations tab
The Configuration tab contains all editable site settings. This is where you can customize your site’s behavior and manage admin tools.
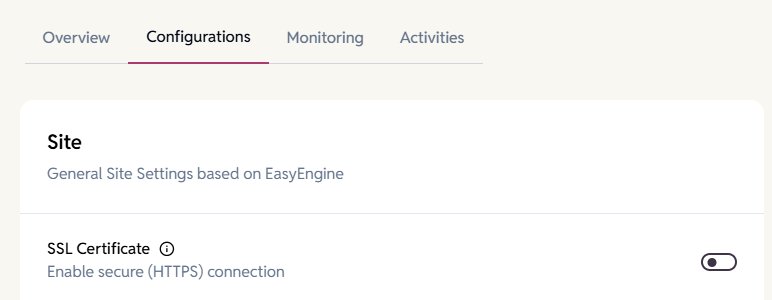
Site
General site settings based on EasyEngine.
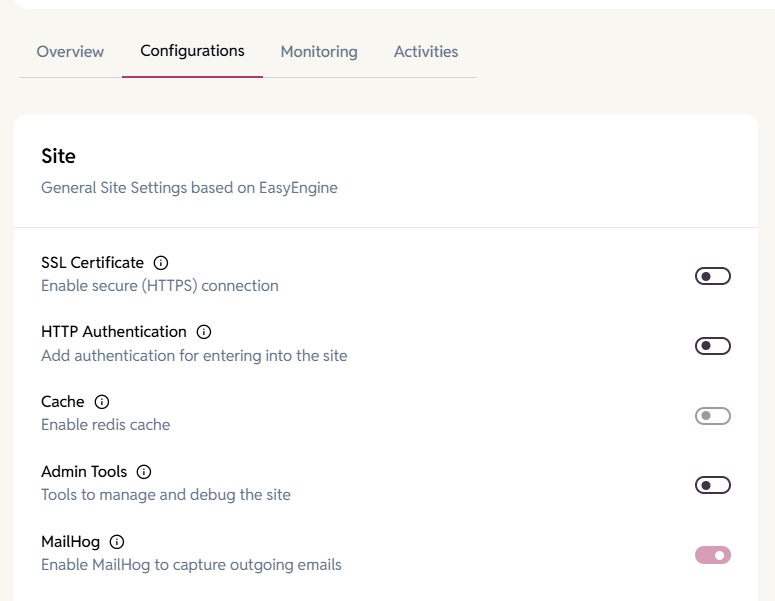
SSL Certificate
Enables a secure HTTPS connection by installing and configuring an SSL certificate for your site.
What it does:
- Improves security and browser trust.
- Automatically provisions an SSL certificate.
- Configures your site to load over HTTPS instead of HTTP.
When to use:
Enable SSL as soon as your domain is connected to the server. HTTPS is recommended for all websites.
Note: DNS should be correctly pointed to your server before enabling SSL.
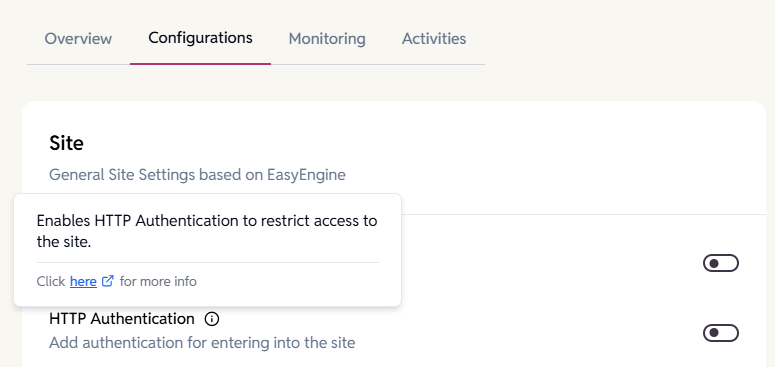
HTTP Authentication
Add password-based authentication before accessing the site for additional security.
What it does:
- Useful for staging, development, or internal sites.
- Restricts access using HTTP Basic Authentication.
When to use:
- When your site is not ready to be publicly accessible.
- When you want to protect sensitive environments.
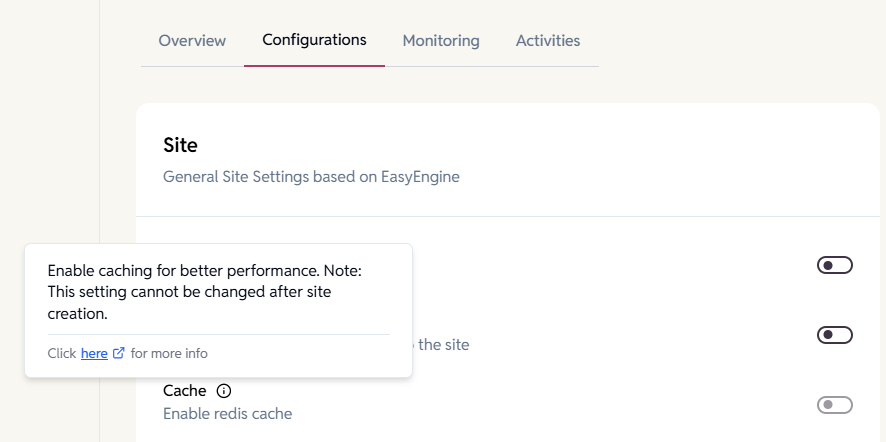
Cache
Enable Redis cache on WordPress sites. Improves performance by enabling caching.
What it does:
- Uses Redis cache for faster page load times.
- Reduces server load by storing frequently accessed content.
When to use:
Enable caching for most production sites to improve speed and performance.
Important:
This setting cannot be changed after the site is created.
Choose carefully before finalizing site creation.
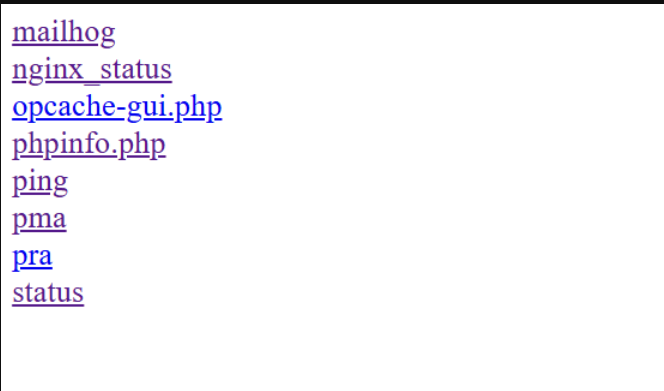
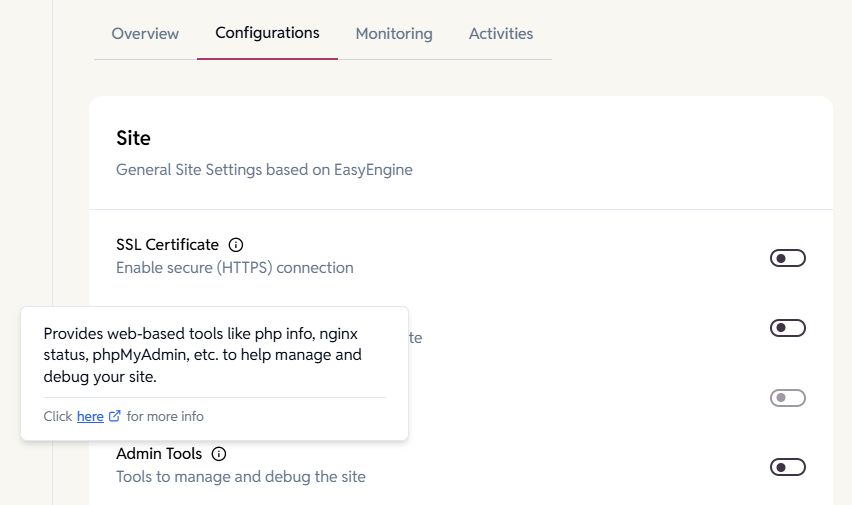
Admin Tools
Enable management and debugging tools for site administration.
Includes tools such as:
- phpinfo() – Shows PHP configuration details
- Nginx Status – Displays server connection and load stats
- phpMyAdmin – Web interface for managing MySQL databases
- Other useful utilities depending on configuration
When to use:
- To debug server or PHP-related issues
- To inspect database contents
- To check server load or configuration
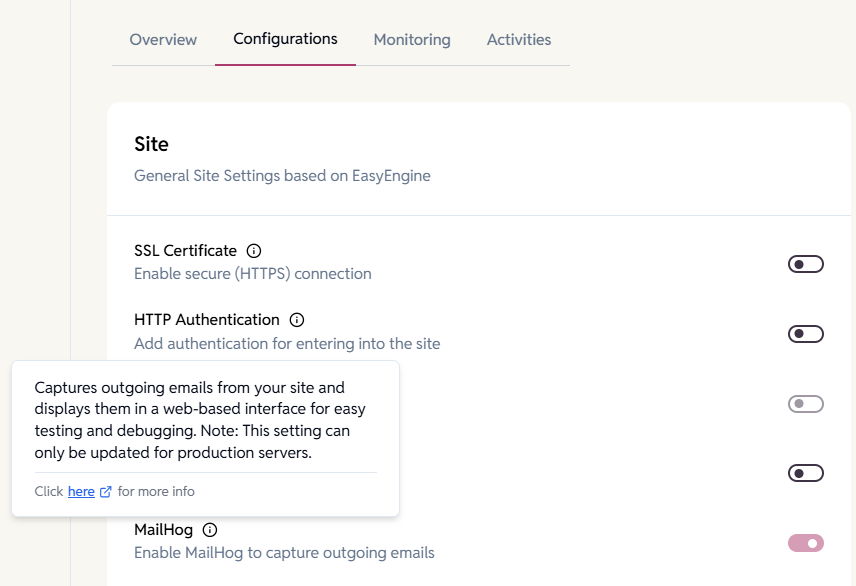
MailHog
Enable MailHog to capture and inspect outgoing emails from the site without sending real emails.
What it does:
- Intercepts and displays all outbound emails.
- Prevents accidental emails from being sent to real users in test environments.
When to use:
- During development or staging
- When testing email flows (contact forms, password resets, notifications)
Important:
MailHog can only be updated for production servers.
On non-production servers, MailHog may always remain enabled for safety.
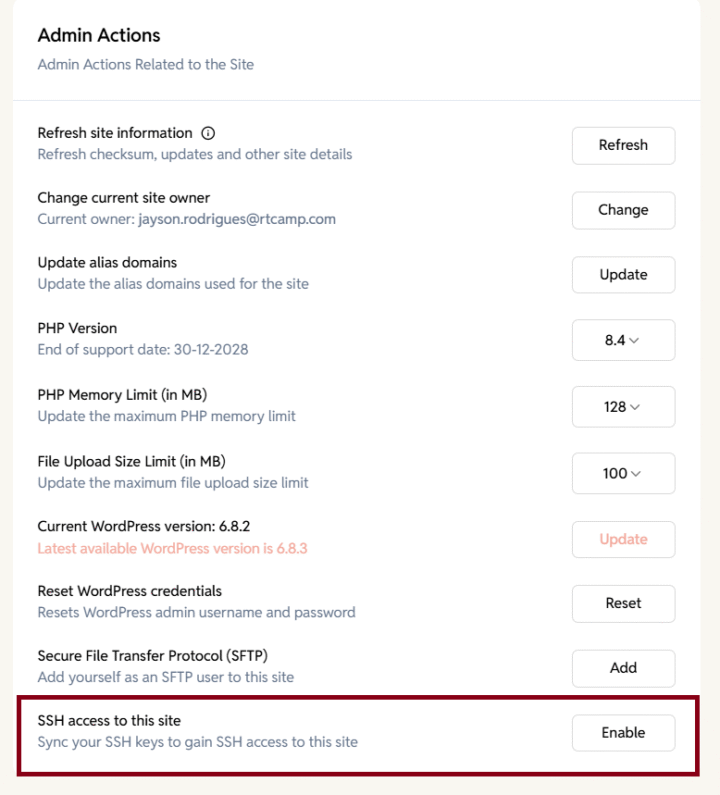
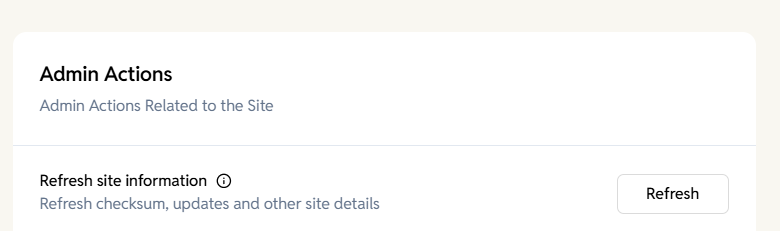
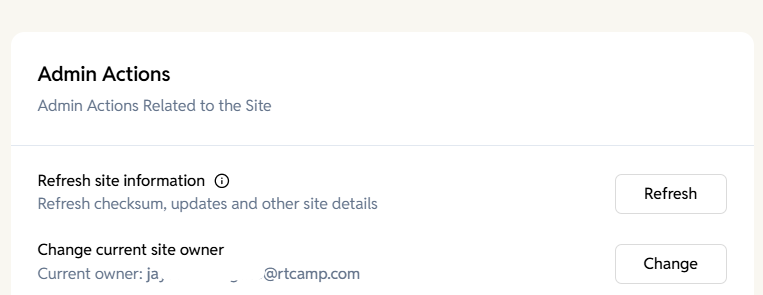
Admin Actions
The Admin Actions section allows you to perform powerful maintenance and administrative tasks on your EasyEngine site. These tools help you refresh site information, change ownership, manage PHP settings, update WordPress, reset credentials, and manage SFTP access.
Each action is described below.
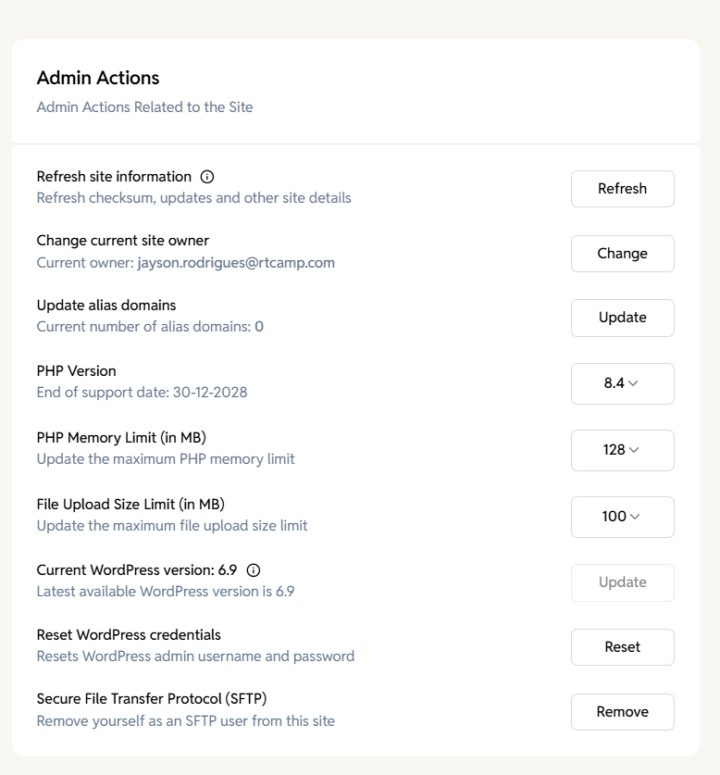
Refresh site information
Updates and refreshes the site’s metadata, including:
- Owner information
- WordPress version
- WordPress updates
- PHP details
- Checksum and other system information
When to use:
- After making changes on the server
- When WordPress updates or plugins do not appear correctly
- When dashboard data seems outdated
Action: Click Refresh to sync and reload the latest site details.
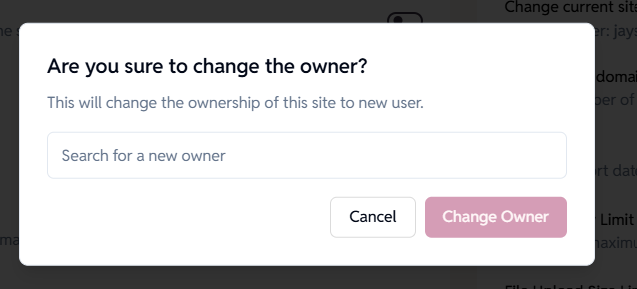
Change current site owner
Transfers site ownership to another user within the organization.
How it works:
- Displays current owner
- Selecting “Change” lets you choose a new owner
- A confirmation dialog ensures you intend to transfer ownership
Warning:
Changing ownership will give the new user full control over the site.
When to use:
- Team member changes
- Responsibility handover
- Project transitions
Update Alias Domains
Adds or modifies additional domains (aliases) that point to the same site.
How to use:
- Enter a comma-separated list of alias domains
Example:sub1.domain.com, sub2.domain.com - Click Update
When to use:
- Adding staging or preview domains
- Adding alternate hostnames for the same site

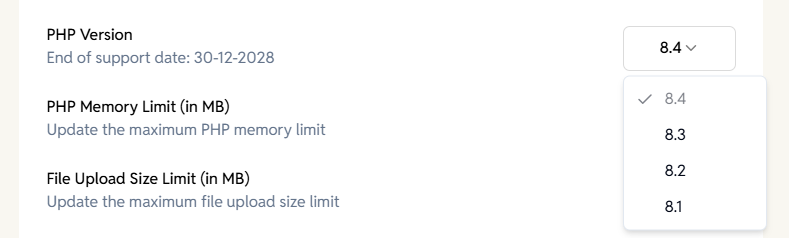
Change PHP version
Allows you to change the PHP version used by your site.
Options available:
PHP versions listed in the dropdown (e.g., 8.1, 8.2, 8.3, 8.4, 8.5)
Additional Info:
- Shows End-of-Support date for the current PHP version
- Switching PHP versions may impact plugin and theme compatibility
When to use:
- Upgrading for performance or security
- Ensuring compatibility with WordPress versions and plugins
PHP Memory Limit
Adjusts the maximum memory available to PHP for your site.
Options:
128 MB, 256 MB, 512 MB, 1024 MB, 1536 MB, 2048 MB
When to use:
- Fixing memory-related errors
- Supporting high-resource themes or plugins
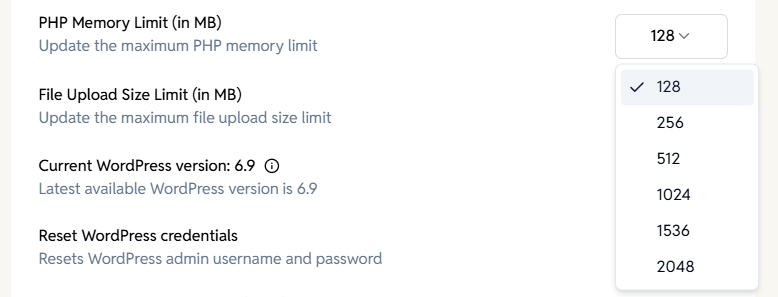
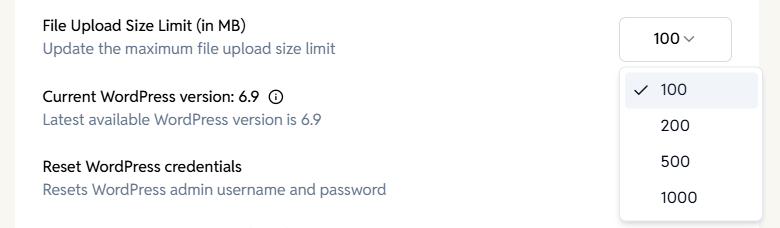
File Upload Size Limit
Changes the maximum file size allowed for uploads via WordPress.
Options:
100 MB, 200 MB, 500 MB, 1000 MB
When to use:
- Uploading large media files
- Importing large plugins or themes
WordPress Core Update
Displays the current WordPress version and checks for the latest available version.
How it works:
- Shows “Current WordPress version”
- If a new version is available, an Update button appears
- If up-to-date, the dashboard indicates it
When to use:
- Staying current with security patches
- Gaining access to new WordPress features

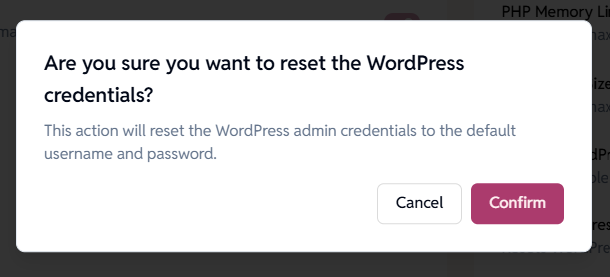
Reset WordPress credentials
Resets the WordPress admin username and password to default credentials.
Confirmation dialog:
- Prompts before performing the reset
- Explains that credentials will return to default login values
When to use:
- Lost access to WordPress admin
- Credentials corrupted during migration
- Emergency access recovery

Secure File Transfer Protocol (SFTP)
Allows you to add or remove yourself as an SFTP user for the site.
What it enables:
- Secure access to site files
- Ability to upload or download website files
- Useful for debugging, development, or manual edits
Instructions:
Follow the steps described in the official guide:
https://easyengine.io/docs/ee-sites/access-ee-site-via-sftp/
When to use:
- Managing theme or plugin files
- Uploading custom code
- Reviewing logs or configuration files

CI/CD
When enabled, the site will be deployed using GitHub Actions. To use CI/CD, ensure that GitHub integration is configured by Organization Admins (Settings > GitHub > GitHub Bot Integration) and you have authorized GitHub (Profile > Settings > GitHub).
- Repository Name – The name of the GitHub repository containing your code.
- Branch Name – The branch to be deployed (e.g., main or develop).
- Enable Multi-Branch Deployments – When enabled, multiple branches can be deployed simultaneously.


Performance & Monitoring
Configure New Relic for performance tracking.
- New Relic can be enabled by clicking the Enable New Relic button. You will be prompted to provide a New Relic license key and an optional comment.
- Once enabled, the license key or comment can be updated at any time by clicking the Update New Relic button.
- New Relic integration can also be disabled later if no longer required by clicking the Disable New Relic button.


Danger Zone
Access critical and irreversible site actions.
- Disable Site – Temporarily disable the site (can be re-enabled).
- Delete Site – Permanently delete the site.

Backup and Restore tab
The Backup and Restore tab safeguards your site by letting you create, download, and restore backups. You can also enable or disable automatic backups. Generating a Backup may take longer depending on the size of the site. The maximum backup limit is 7.
- Add New Backup – Create an backup of your site.
- Restore – Restore the site from the latest backup.
- Prepare Zip – Package a backup for download.
- Download Backup – Save a backup locally. This button appear once Zip has been prepared.
- Auto Backup – Enable or disable automatic scheduled backups.

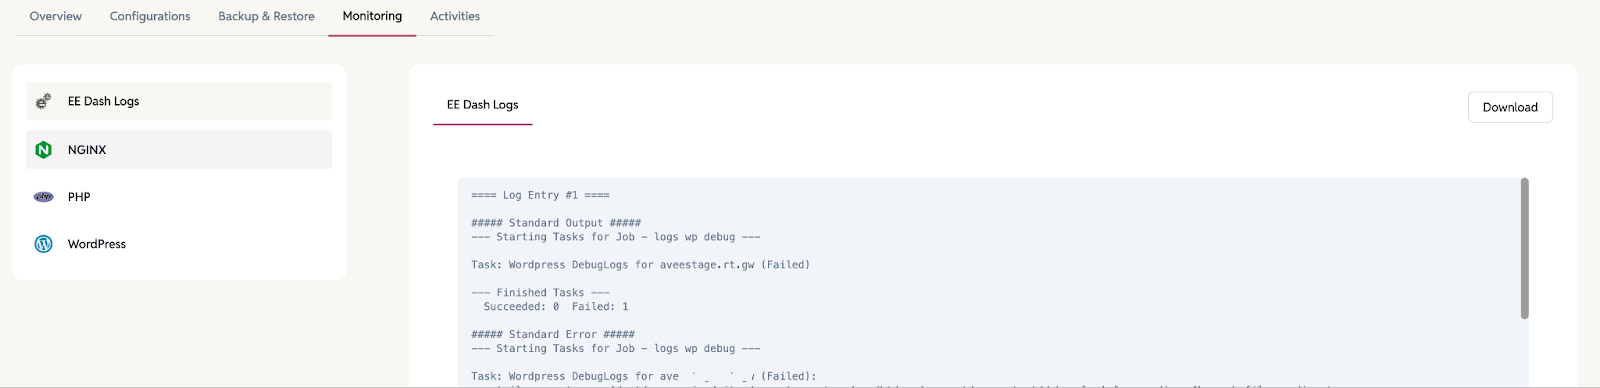
Monitoring tab
The Monitoring tab provides logs that show the operational history of your site, helping you troubleshoot issues and track changes.
- EE Dash Log – EasyEngine site logs showing actions like credential updates and backups.
- Nginx Logs – Server-level logs.
- WP Logs – WordPress site logs for theme, plugin, and core activity.
- PHP Logs – PHP error and execution logs for debugging.
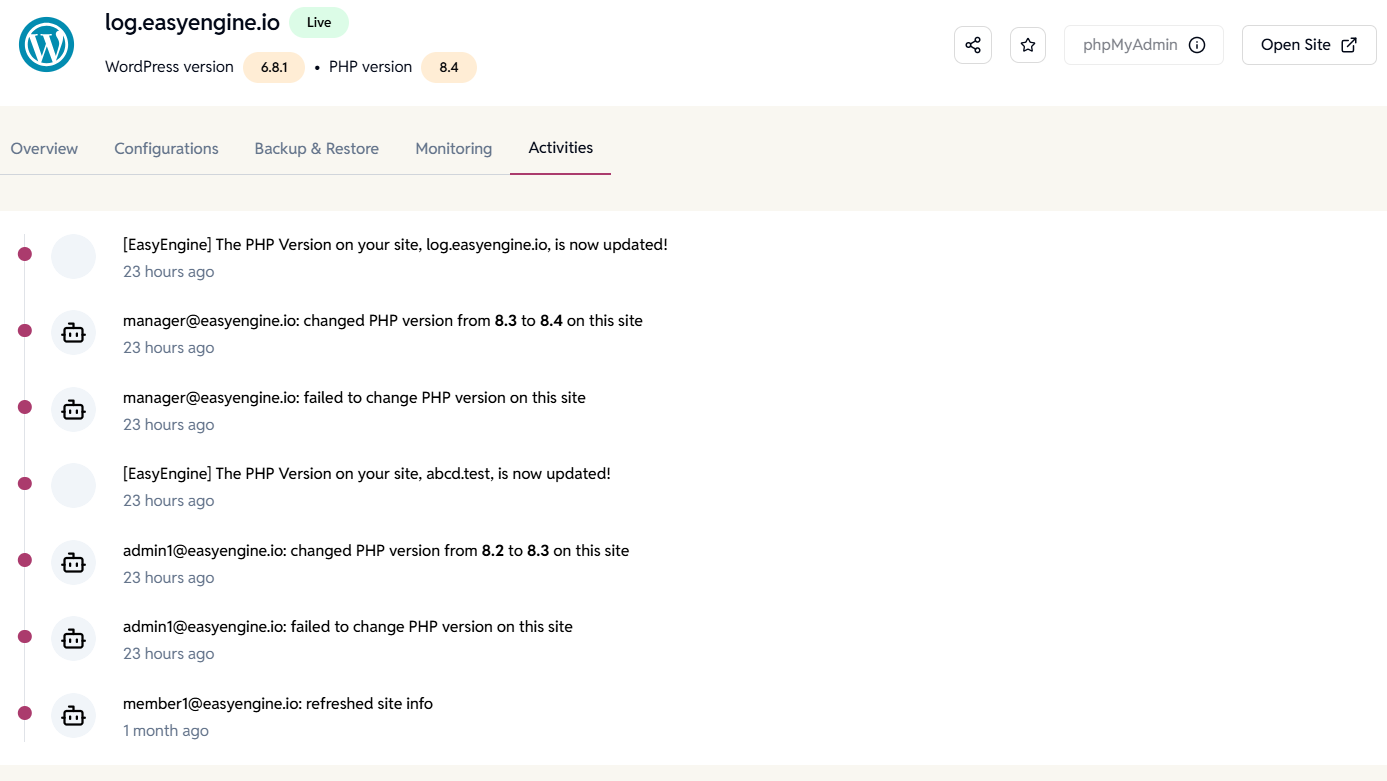
Activities tab
The Activities tab tracks all actions taken on your site, helping you understand what changes were made, when, and by whom.
- Timeline of site-related activities.
- Records of shared or starred sites.
- Details on which user updated credentials or created backups.
- Complete change history for better transparency.