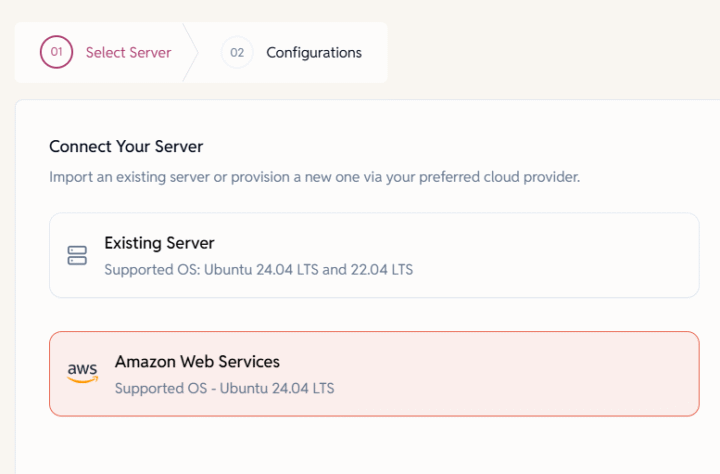
EE Dashboard supports provisioning new servers on AWS with Ubuntu 24.04 LTS.
- Go to Servers > Click on the ‘Add New’ button
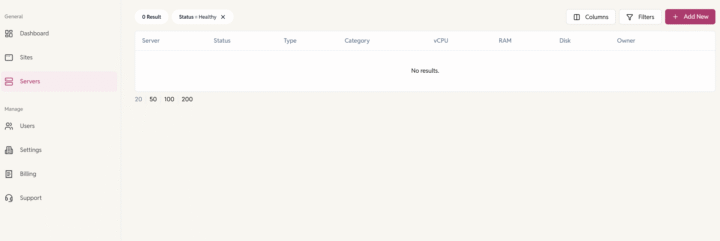
- Choose AWS as your cloud provider and proceed to the next step.
- Server Configuration: Enter Server Details
- Server Name: Provide a name for the server.
Example: domain.com, sub.domain.com - Server Category: Select the purpose of the server.
Example: development, production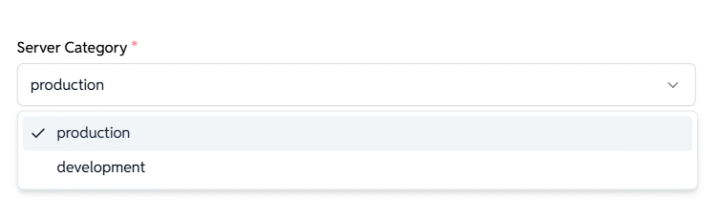
- Amazon EBS Size:
Enter disk size in GB (e.g. 20).
EBS type used: gp3 volume with 3000 IOPS and 125 MiB/s is used.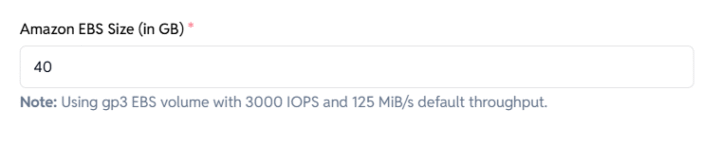
- Choose Server Region:
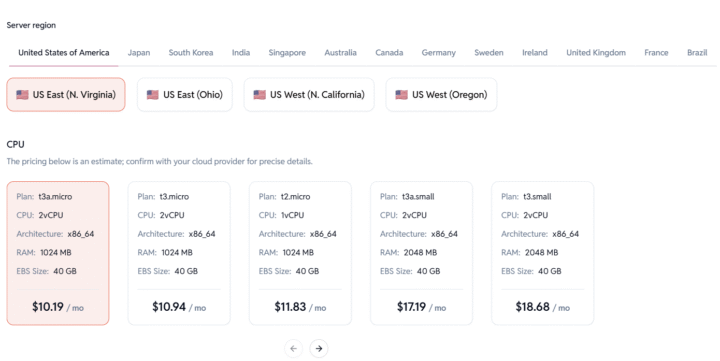
- Select a preferred location:
- United States, Japan, South Korea, India, Singapore, Australia, Canada, Germany, Sweden, Ireland, UK, France, Brazil
Note: Each region may have different availability and pricing.
- United States, Japan, South Korea, India, Singapore, Australia, Canada, Germany, Sweden, Ireland, UK, France, Brazil
- Choose Instance Plan
Select an EC2 instance based on your requirements
Pricing is indicative – confirm final costs with AWS.
- Select a preferred location:
- Server Name: Provide a name for the server.
- Click Submit to Provision your Server.
EasyEngine will automatically create the EC2 instance and set it up with your chosen configuration.
- Note: Server provisioning might take 15-20 minutes. The server status will automatically update to “Live” once provisioning is complete.
- Need help? Contact us via helpdesk.
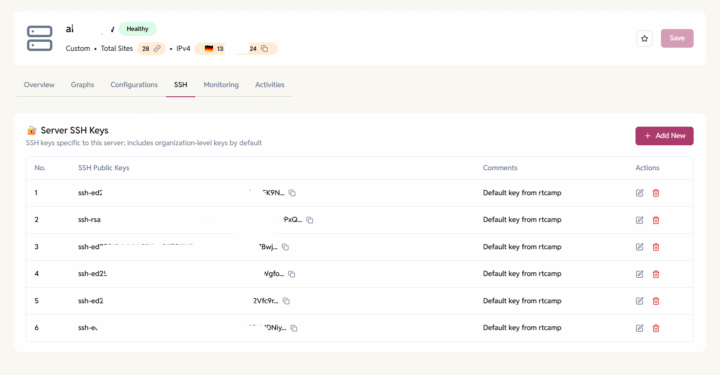
Secure & Access Servers
Once provisioned, you’ll be able to:
- SSH into the server by adding SSH keys at the organization level or at the individual server.
- Create and manage WordPress or other PHP sites.
- Enable Firewall and block malicious traffic.