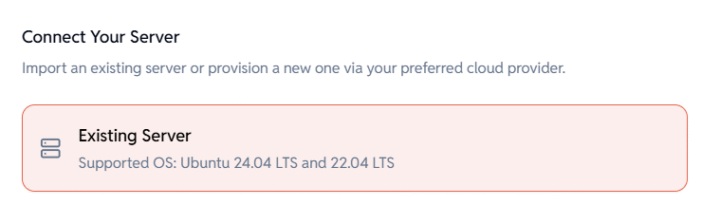
Use this option if you want to connect a fresh Ubuntu server or already have an existing EasyEngine CLI-installed server that meets the below requirements.
Supported OS:
- Ubuntu 24.04 LTS (for new servers)
- Ubuntu 22.04 LTS or 24.04 LTS (for EE CLI installed servers)
- CLI version 4.8 or higher
Steps to Add the Server:
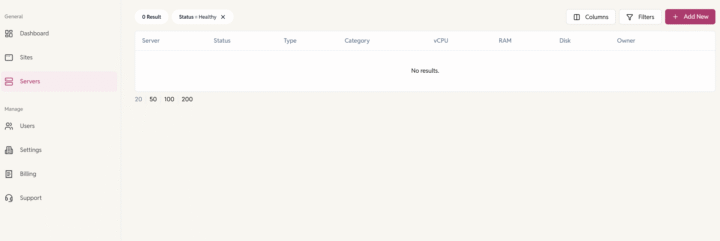
1. Go to Servers > Click on the ‘Add New’ button.
2. Choose “Existing Server” and click next
3. Configurations:
Fill in Server Details on the Dashboard
- Server Name: Enter a name to identify your server.
Example: example.com or sub.example.com - Server Category: Choose the type of setup.
development/ production

- Public IPv4: Provide the public IP address of the server.
Example: 65.21.123.45
Grant SSH Access to EasyEngine
To let EasyEngine connect securely, you need to add its public SSH key to your server.

SSH into your server as root:
ssh root@your-server-ip
Run the command below to add EasyEngine’s public key:
echo -e "\nsshed25519AAAAC3NzaC1lZDI1NTE5AAAAILbESQqRcGdwnn/u1BkDCD9rDiFqgDhTHBHIIasaDpWV EasyEngine" >> /root/.ssh/authorized_keys
That’s it. Your server is now ready for EasyEngine to connect.
Important note: Server Requirements:
- For new servers: Must run Ubuntu 24.04
- For existing servers with EasyEngine preinstalled:
- Must run EasyEngine v4.8+
- Supported OS: Ubuntu 22.04 or 24.04
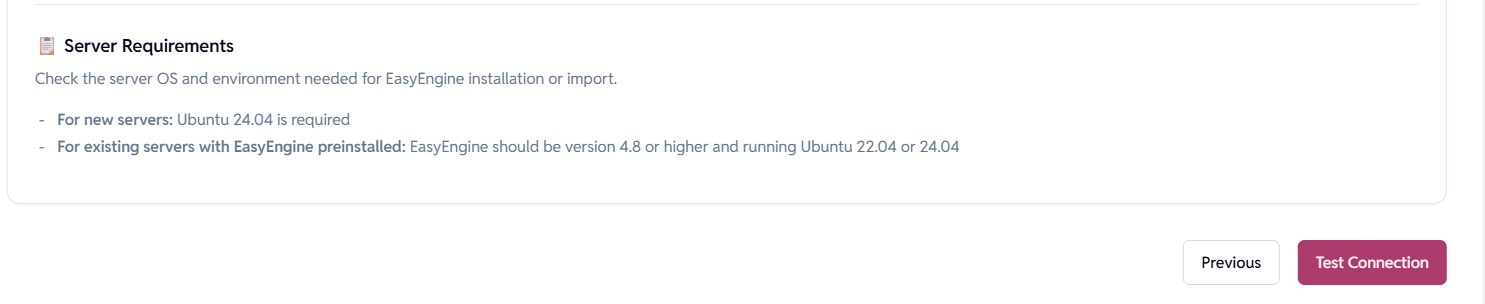
4. Test Connection:
Once these steps are complete, you can proceed to click on ‘Test Connection’ from the dashboard.
Need help? Contact us via helpdesk
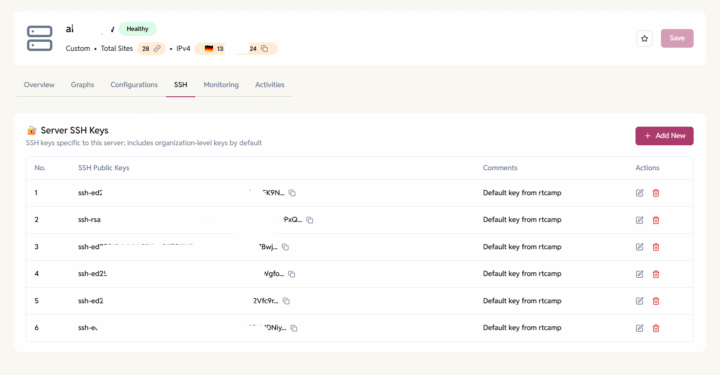
Secure & Access Servers
Once provisioned, you’ll be able to:
- SSH into the server by adding SSH keys at the organization level or at the individual server.
- Create and manage WordPress or other PHP sites.
- Enable Firewall and block malicious traffic.