
You can add SSH keys to your Profile, Organization, Servers, or Sites – making it easy to manage secure access across your projects.
Add SSH Keys to Your Profile
Option 1: Import from GitHub
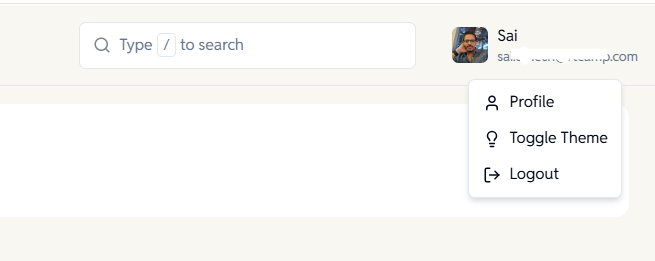
- Go to your Profile page.
- Click the Settings tab.
- Click “Authorize GitHub” to connect your GitHub account and automatically import your public SSH keys.
Option 2: Add Manually
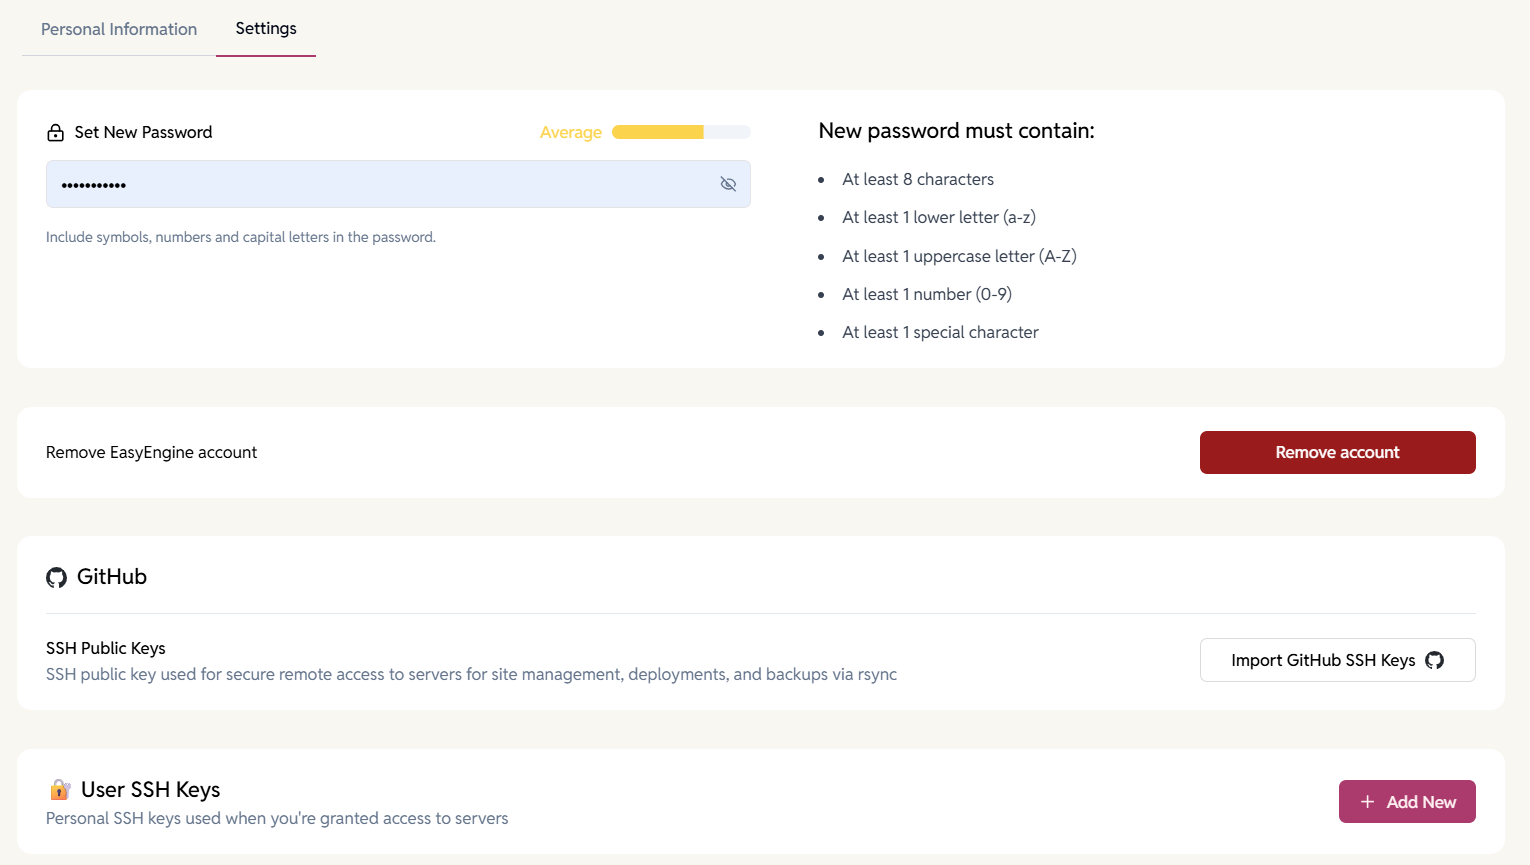
- Go to your Profile > Settings.
- Scroll down to the section “User SSH Keys” and click “Add New”.
- Paste your public key and click Save.

Add SSH Keys to Your Organization
Keys added at the Organization level are automatically included when new servers are provisioned.

To manage org-level SSH keys:
- Go to your Organization Settings.
- Under the SSH tab, click on ‘Add New’ to add SSH keys or update SSH keys as needed.
Note: These keys will be injected into all future servers created under this org.

Add SSH Keys to a Server

To manually add SSH keys to an existing server:
- Go to the Servers.
- Select the server you want to update.
- Navigate to the SSH tab.
- Click Add SSH Key and paste your public key.

Add SSH Keys to a EasyEngine Site
You can add your SSH keys to each site:
- Go to the Sites and open the site.
- Under the Overview tab, scroll down to the SSH section.
- Click Add SSH User.
- Select your saved key (from profile) or paste a new one to assign access.
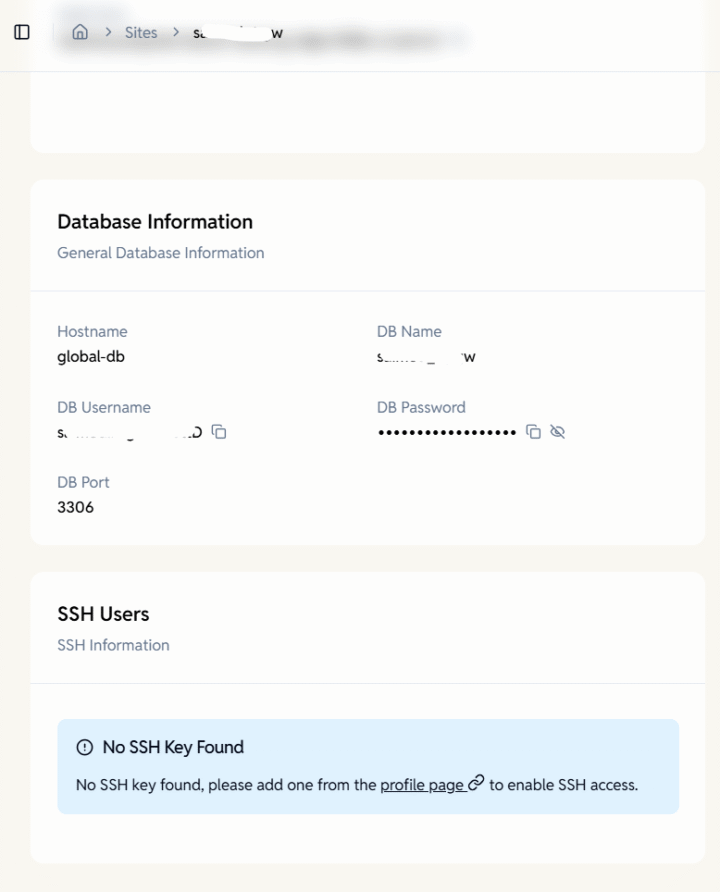
For WP Cloud sites, the import from profile option isn’t available yet. You have to manually add the public key.
Adding SSH Keys to a WP Cloud WordPress Site
You can securely access your WP Cloud WordPress site through the EasyEngine Dashboard using SSH.
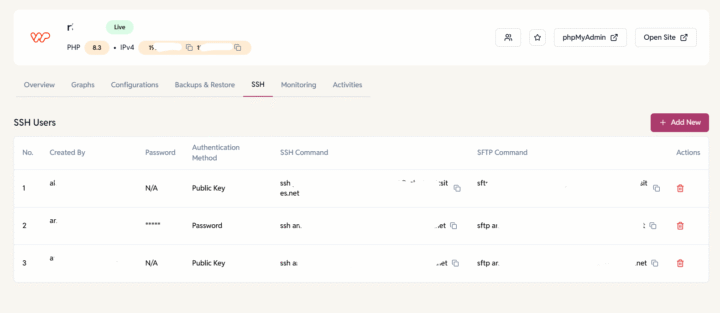
- Open the SSH Tab
- Go to your WP Cloud site in the EasyEngine Dashboard.
- Navigate to the SSH tab.
- Add a New SSH User

- Click the Add New button.
A popup will appear with a pre-generated username.Example:
sdk-rt.rttweered.com-tdew0 - From the Authentication Method dropdown, choose one of the following:
- Public Key: Add your public SSH key.
- Password: A password will be auto-generated for you.

- Click the Add New button.
- Copy Credentials
- If you selected the Password method, make sure to copy the password immediately before clicking Add, as it will only be displayed once.
- Connect to Your Site
Use your favorite terminal or SSH client to connect: