
EasyEngine Dashboard allows you to create and manage WordPress, PHP, or HTML sites either on your servers or via the serverless WP Cloud platform.
EasyEngine Sites (Self-Hosted):
These are sites created on your servers with EasyEngine CLI installed on it.
Types of sites you can create:
- WordPress
- PHP
- HTML
Steps to add an EE site
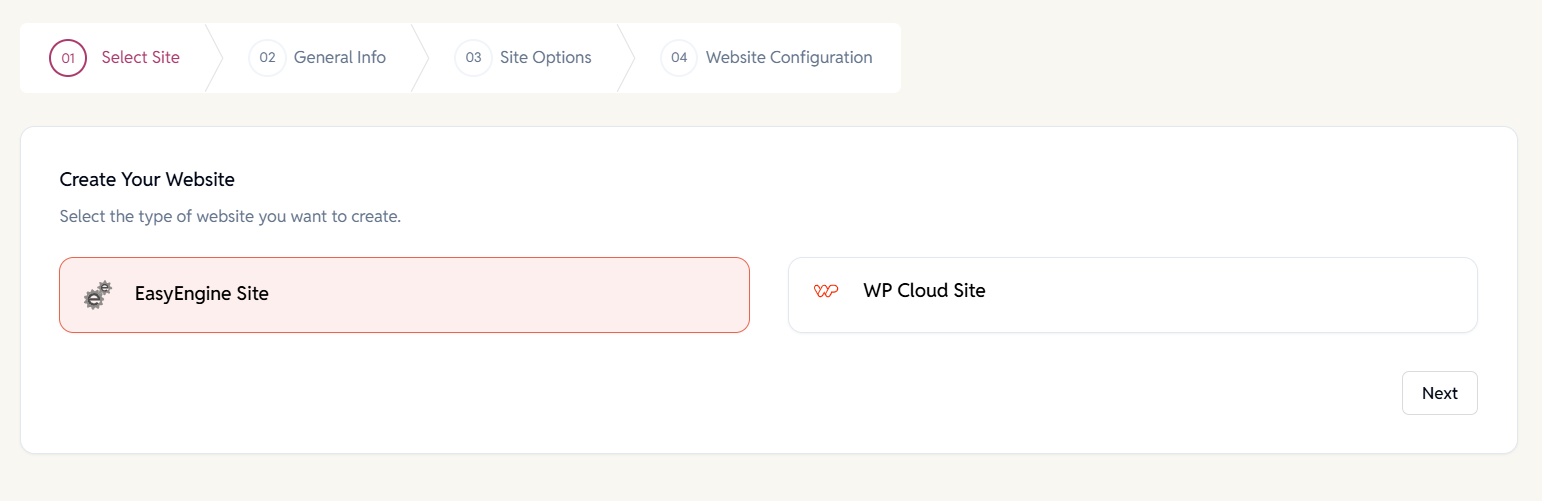
Navigate to the Sites page > Click on the ‘Add Site’ button. If the ‘Add Site’ button is disabled, first add a server.
1. Select Site Type
Select the EasyEngine site and proceed.
2.a. Enter General Info
- Enter domain name – e.g., example.com.
Alias domains – optional, comma-separated - Select a server – search or click to select
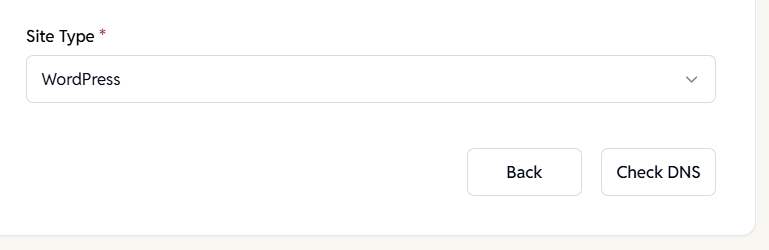
- Choose Site type from the drop-down – WordPress /PHP HTML.

2.b. Click Verify DNS
DNS success: Proceed to the next step
DNS warning message – “We couldn’t verify that the domain is pointing to this server—check your DNS settings or click Next to continue.” – We suggest you update your DNS records for the domain.
Important: Leave SSL unchecked if DNS is not updated. SSL setup & site creation will fail otherwise.
3. Select Site Options
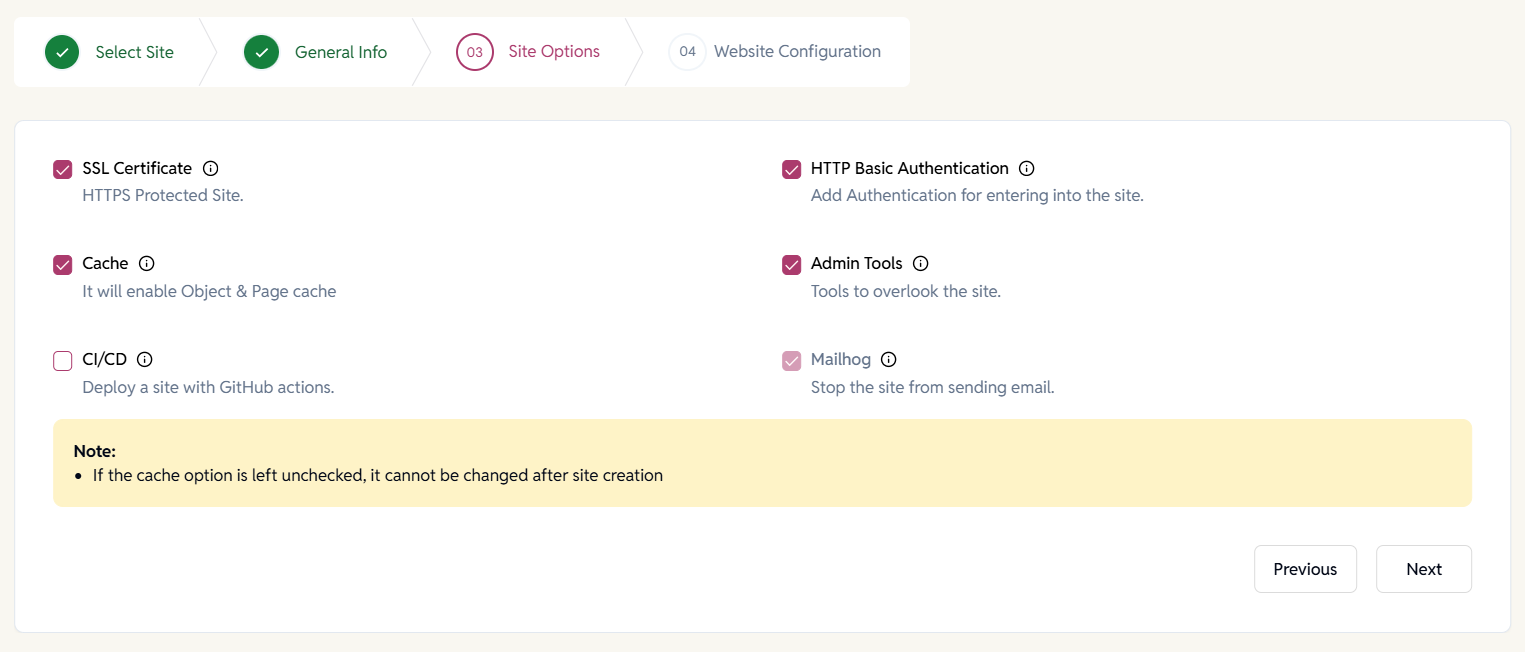
3.1 SSL Certificate
Secures your site via HTTPS using SSL certificates.
When provisioning a WordPress, PHP, or HTML site, EE Dashboard auto-generates and installs a free Let’s Encrypt SSL certificate.
Note: Keep SSL unchecked if DNS records aren’t updated. Otherwise, site creation will fail.
Recommended enabling for all live/public sites.
3.2 Cache
Enable object and page caching for faster performance.
EE optimizes performance with smart caching defaults. Purge & Clear Options
Cache is automatically cleared on key WordPress events. Manual purge is available via CLI.
Note: If the cache option is left unchecked, it cannot be changed after site creation.
3.3 HTTP Basic Authentication
Restrict access to your site with a username and password prompt.
When enabled, users must enter a username and password before accessing the site.
Useful for staging, private demos, or work-in-progress sites.
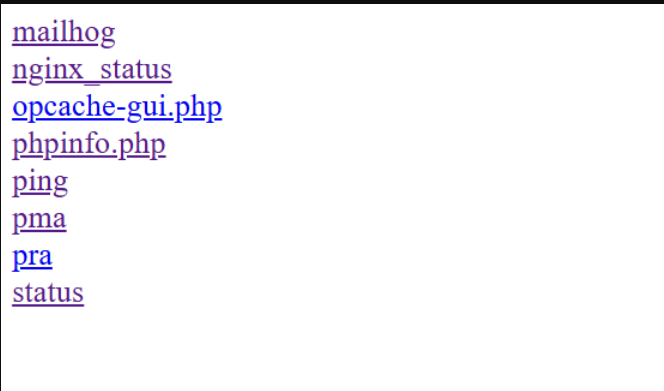
3.4 Admin Tools
Enable management and debugging tools for site administration. Includes tools such as:
- phpinfo() – Shows PHP configuration details
- Nginx Status – Displays server connection and load stats
- phpMyAdmin – Web interface for managing MySQL databases
- Other useful utilities depending on configuration
When to use:
- To check server load or configuration
- To debug server or PHP-related issues
- To inspect database contents
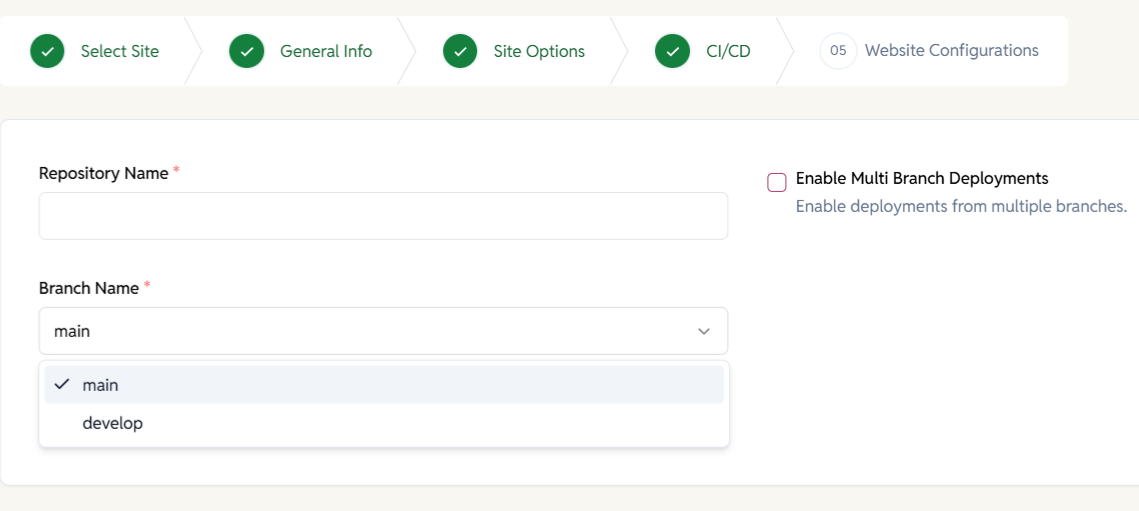
3.5 CI/CD – Github Deployments
Enable continuous deployment using GitHub Actions.
- Supports multi-branch deployments.
- Automatically builds and deploys your site on Git pushes.
- Uses the official action: rtCamp/action-deploy-wordpress
Fields to Fill:
- Repository Name: e.g., eerepo
- Repository Link: e.g., https://github.com/<user/org>/<repo-name>
- Branches: Choose main or develop
Commits: Authored using the configured bot name/email
Note: SSH Deployment Key: Add the private key to EE Dashboard; add its public key to GitHub
3.6 Mailhog – Email Testing Tool
Mailhog captures and displays all outgoing emails from your site in a browser-based inbox.
Great for development – no real emails are sent. Default on dev sites – cannot be disabled. Mailhog GitHub Repository.
4. Website Configuration
This section allows you to configure the core aspects of your website. These settings ensure your site is compatible with the stack and tailored to your needs.
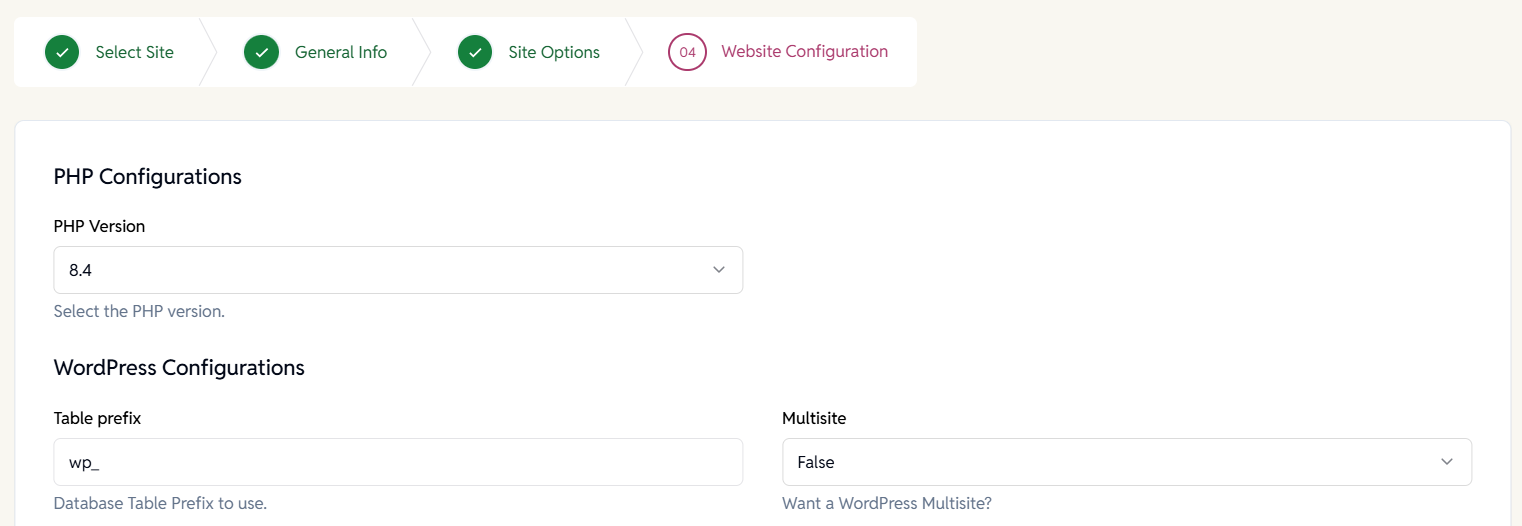
- PHP Configuration:
Choose the PHP version best suited for your site’s needs.
EasyEngine Dashboard supports a range of versions, currently from 8.1 to 8.4.
- WordPress Configuration:
Fine-tune how WordPress behaves under the hood:- Table Prefix:
Sets the database table prefix for the WordPress site.
The default is wp_, but you can change this for added security. - Multisite Support
Create a WordPress network using one of the following modes:- False (default): Multisite is disabled.
- Subdomain: Your network sites will use subdomains (e.g., site1.example.com).
- Subdirectory: Sites appear under a path (e.g., example.com/site1).
Note: Ensure your DNS and server configuration support your chosen option before enabling multisite. The Multisite option isn’t reversible after the site is created.
- Table Prefix:
5. Final Step – Submit Your Site
Once you’ve configured all the settings, click the Submit button to create your site. The status will change to ‘Live’ once the site is successfully created and ready to use.
DNS Not Set Up Yet?
If your domain’s DNS isn’t yet pointing to your server, no worries.
You can still proceed, but you’ll need to update the DNS records manually:
- Copy the IPs shown in the site header.
- Go to your domain registrar’s DNS settings.
- Add/update the A records to point to the server.
Note: DNS propagation might take a few minutes to a few hours, depending on your registrar. Once your domain DNS is correctly configured, your site will be fully accessible.