Last updated on Oct 29, 2025
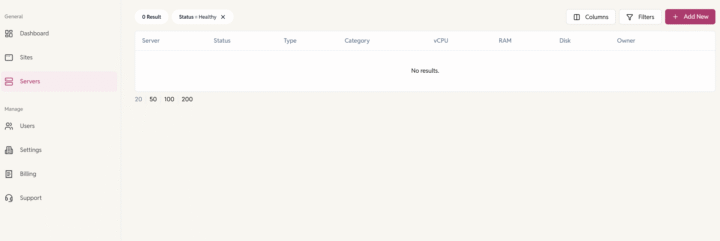
You can add your server to the EasyEngine Dashboard in two ways:
- Import an Existing Server
- Provision a New Server via Cloud Provider
Let’s walk you through both options:
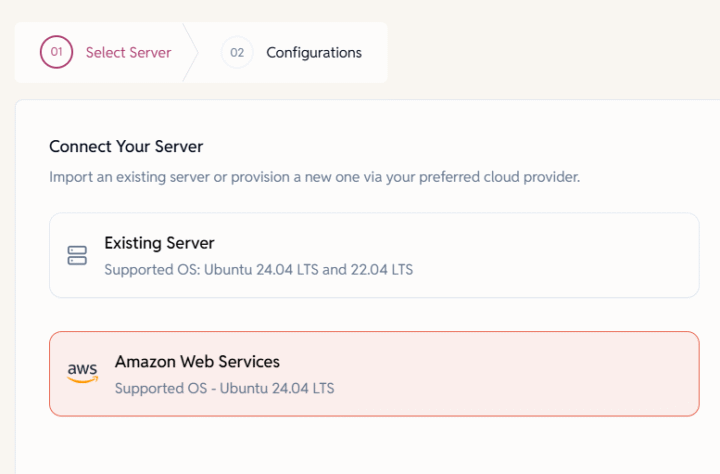
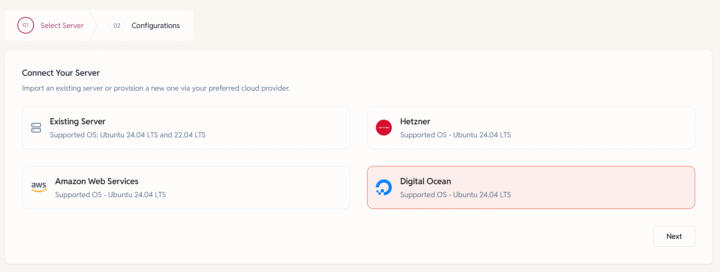
Select Server
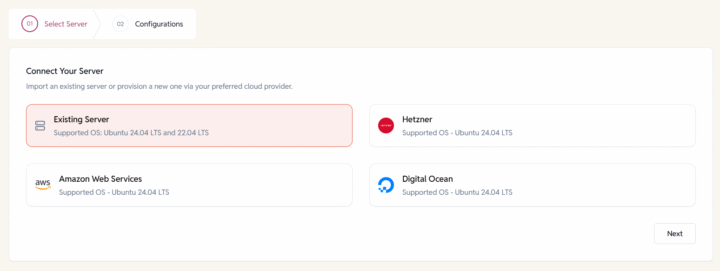
- Option 1: Import an Existing Server
- Option 2: Provision a New Server via Cloud Provider
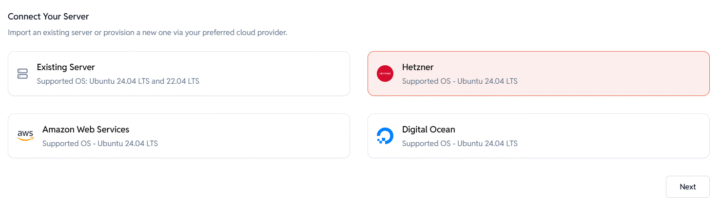
We have 3 Cloud Provider options to select from:- Hetzner
- AWS
- Digital Ocean
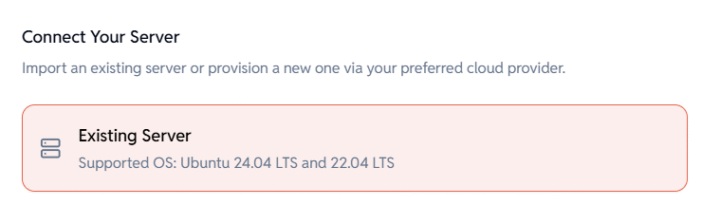
Option 1: Import an Existing Server
Use this if you already have a server that meets the requirements.
Supported OS:
- Ubuntu 24.04 LTS
- Ubuntu 22.04 LTS

Steps to Add the Server:
1. Choose “Existing Server” and click next.
2. Configurations:
Fill in Server Details on the Dashboard
- Server Name: Enter a name to identify your server.
Example: example.com or sub.example.com - Server Category: Choose the type of setup.
development/ production

- Public IPv4: Provide the public IP address of the server.
Example: 65.21.123.45
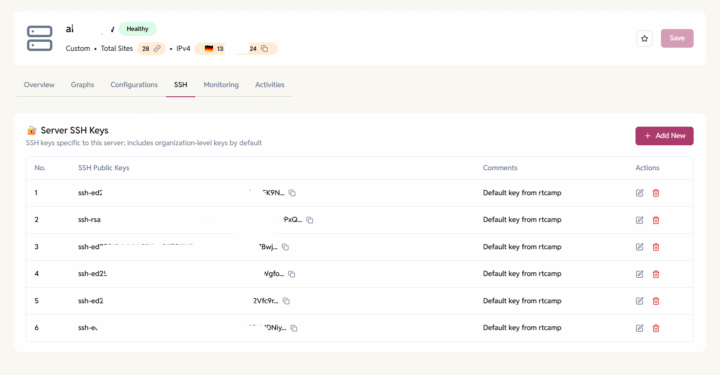
Grant SSH Access to EasyEngine
To let EasyEngine connect securely, you need to add its public SSH key to your server.

SSH into your server as root:
ssh root@your-server-ip
Run the command below to add EasyEngine’s public key:
echo -e "\nsshed25519AAAAC3NzaC1lZDI1NTE5AAAAILbESQqRcGdwnn/u1BkDCD9rDiFqgDhTHBHIIasaDpWV EasyEngine" >> /root/.ssh/authorized_keys
That’s it. Your server is now ready for EasyEngine to connect.
Important note: Server Requirements:
- For new servers: Must run Ubuntu 24.04
- For existing servers with EasyEngine preinstalled:
- Must run EasyEngine v4.8+
- Supported OS: Ubuntu 22.04 or 24.04
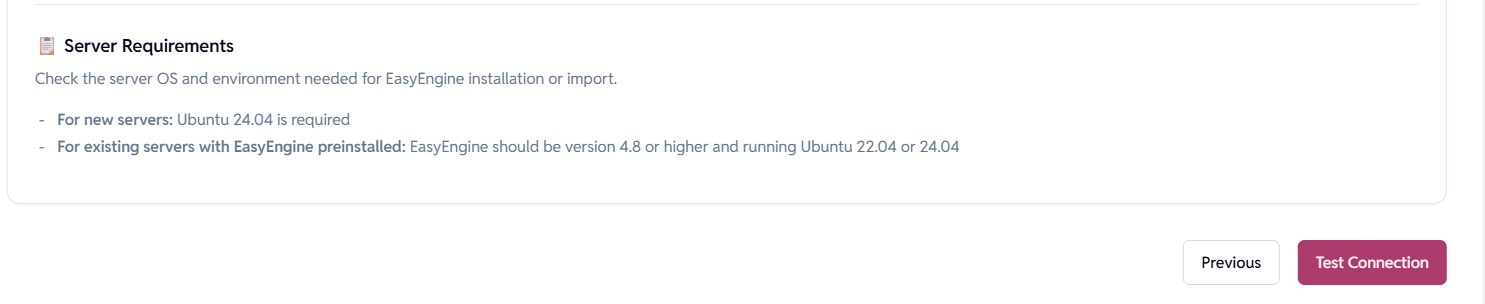
- Test Connection: Once these steps are complete, you can proceed to click on ‘Test Connection’ from the dashboard.
Need help? Contact us via helpdesk.
Option 2: Provision a New Server via Cloud Provider Integration
Currently, you can provision a new server via AWS, Hetzner, and Digital Ocean.
Provision a Server via Hetzner:
EE Dashboard supports provisioning new servers on Hetzner with Ubuntu 24.04 LTS.
- Choose Hetzner as your cloud provider and proceed to the next step.
- Server Configuration: Enter Server Details
- Server Name: Provide a name for the server.
Example: domain.com, sub.domain.com - Server Category: Select the purpose of the server.
Example: development, production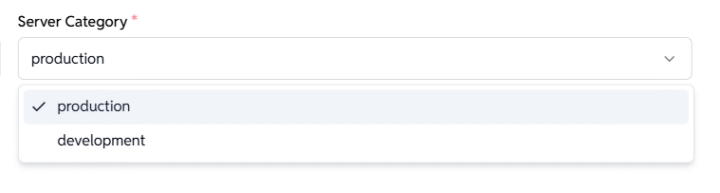
- Choose Server Region:
- Select a preferred location:
- USA
- Germany
- Finland
- Singapore
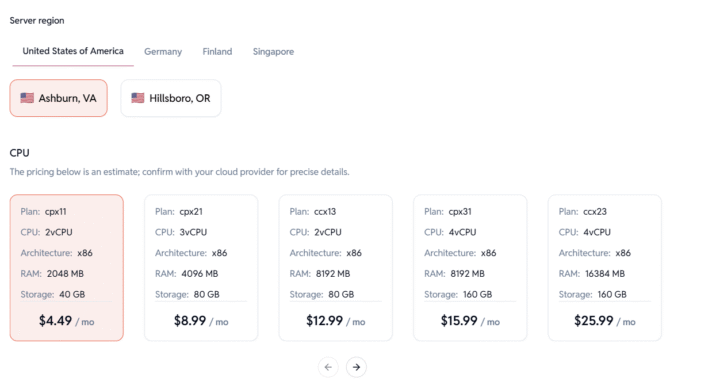
- Pick a Server Plan:
Choose a CPU/RAM/Storage configuration.
Pricing is indicative — confirm final costs with Hetzner.
- Select a preferred location:
- Server Name: Provide a name for the server.
- Click Submit to Provision your Server.
EasyEngine will automatically create the server on Hetzner and set it up with your chosen configuration.
Note: Server provisioning might take 15-20 minutes. The server status will automatically update to “Live” once provisioning is complete.
Require help? Contact us via helpdesk.
Provision a Server via AWS:
EasyEngine supports provisioning new servers on Amazon Web Services (AWS) with Ubuntu 24.04 LTS.
- Choose AWS as your cloud provider and proceed to the next step.
- Server Configuration: Enter Server Details
- Server Name: Provide a name for the server.
Example: domain.com, sub.domain.com - Server Category: Select the purpose of the server.
Example: development, production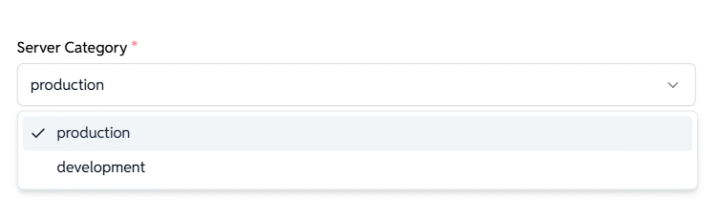
- Amazon EBS Size:
Enter disk size in GB (e.g. 20).
EBS type used: gp3 volume with 3000 IOPS and 125 MiB/s is used.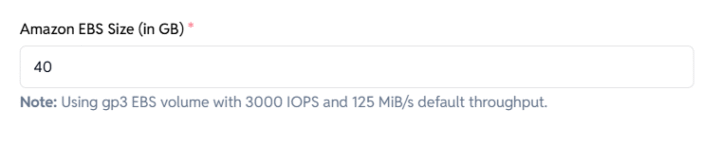
- Choose Server Region:
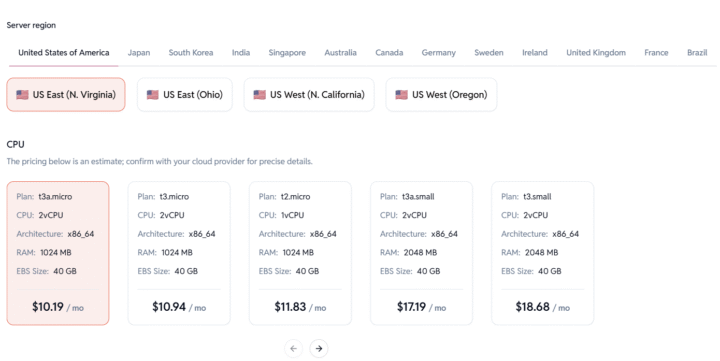
- Select a preferred location:
- United States, Japan, South Korea, India, Singapore, Australia, Canada, Germany, Sweden, Ireland, UK, France, Brazil
Note: Each region may have different availability and pricing.
- United States, Japan, South Korea, India, Singapore, Australia, Canada, Germany, Sweden, Ireland, UK, France, Brazil
- Choose Instance Plan
Select an EC2 instance based on your requirements
Pricing is indicative — confirm final costs with AWS.
- Select a preferred location:
- Server Name: Provide a name for the server.
- Click Submit to Provision your Server.
EasyEngine will automatically create the EC2 instance and set it up with your chosen configuration.
Note: Server provisioning might take 15-20 minutes. The server status will automatically update to “Live” once provisioning is complete.
Need help? Contact us via helpdesk.
Provision a Server via Digital Ocean:
EasyEngine supports provisioning new servers on Digital Ocean (DO) with Ubuntu 24.04 LTS.
- Choose Digital Ocean as your cloud provider and proceed to the next step.
- Server Configuration: Enter Server Details
- Server Name: Provide a name for the server.
Example: domain.com, sub.domain.com - Server Category: Select the purpose of the server.
Example: development, production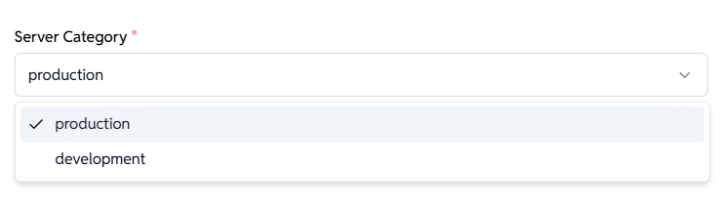
- Choose Region: Select a preferred location.
- DigitalOcean data centers are available in:
Netherlands (Amsterdam 3), India, Germany, United Kingdom, United States of America, Singapore, Australia, Canada. - Select a Droplet Plan depending on your workload preferences.
Note: Pricing is indicative — confirm final costs with DO.
- DigitalOcean data centers are available in:
- Server Name: Provide a name for the server.
- Click Submit to Provision your Server.
EasyEngine will automatically create the droplet on the DO and set it up with your chosen configuration.
Note: Server provisioning might take 15-20 minutes. The server status will automatically update to “Live” once provisioning is complete.
Need help? Contact us via helpdesk.
Security & Access of Servers:
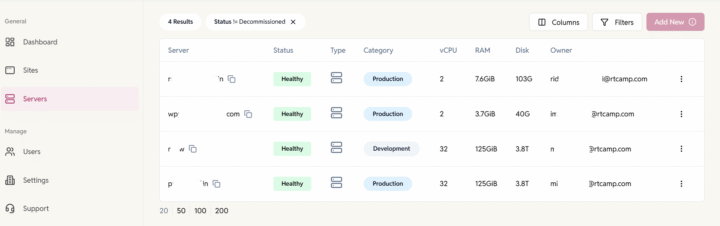
Once provisioned, you’ll be able to:
- SSH into the server
- Manage it directly from the EasyEngine dashboard
- Deploy and manage WordPress or other PHP sites.