At first you need to create an account for Amazon WS. After creation of account, choose your desired region from the right corner of AWS page for the creation of EC2 instance. After that navigate to Service and then EC2 to create a new instance as shown below.
Create a new Instance
As we have to create a new instance, click on “Launch Instance” button and then follow the steps mentioned below: 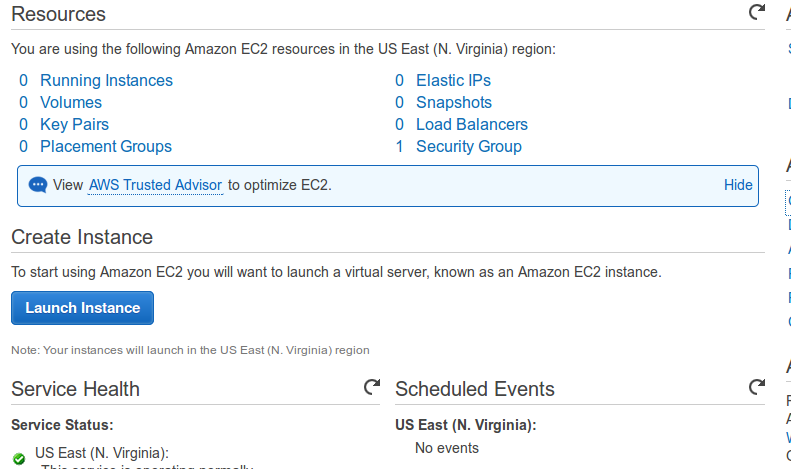
Step 1: Choose AMI
We are choosing Ubuntu 14.04 paravirtual (PV) SSD volume type AMI. You are also free to choose HVM AMI of Ubuntu 14.04. We are choosing PV because they are more stable and performance optimized. More difference between PV and HVM can be found on this blog. 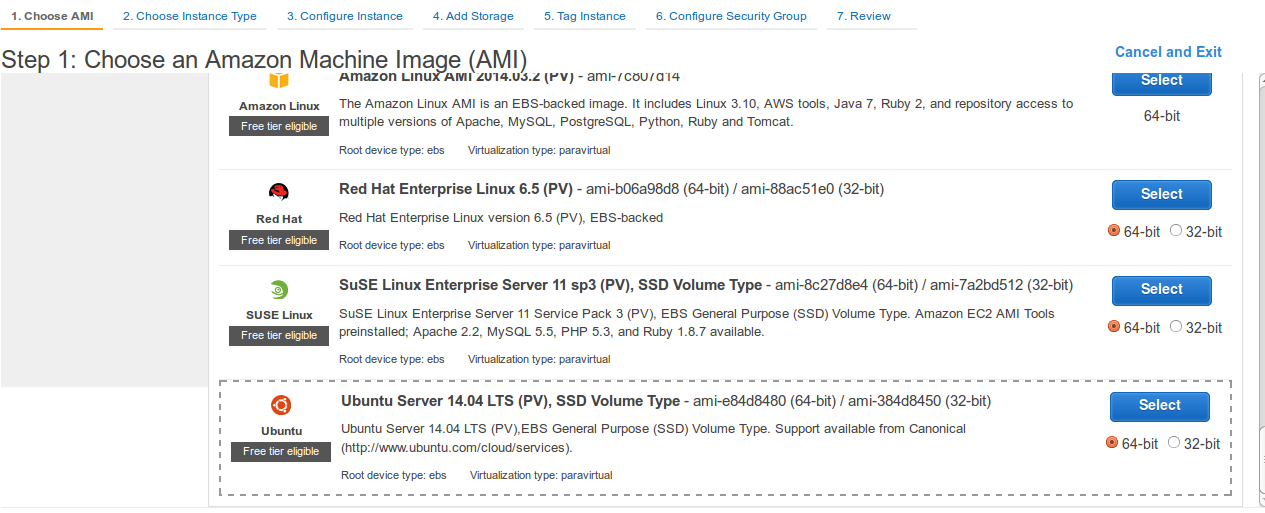
Step 2: Choose Instance Type
Here you can choose the instance type as per your need. 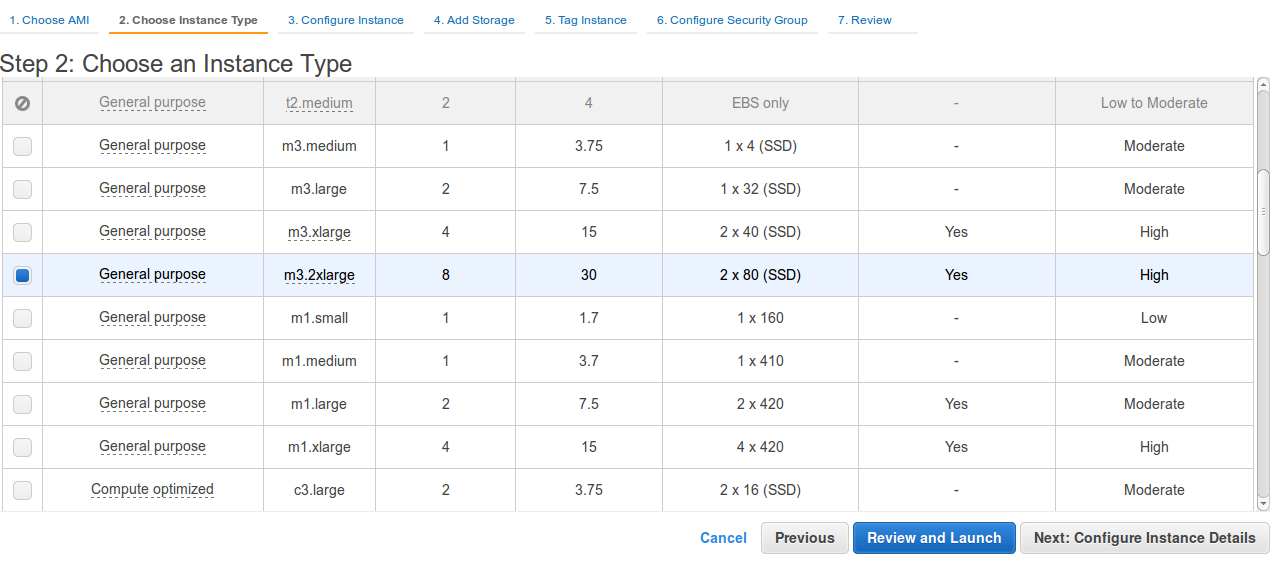
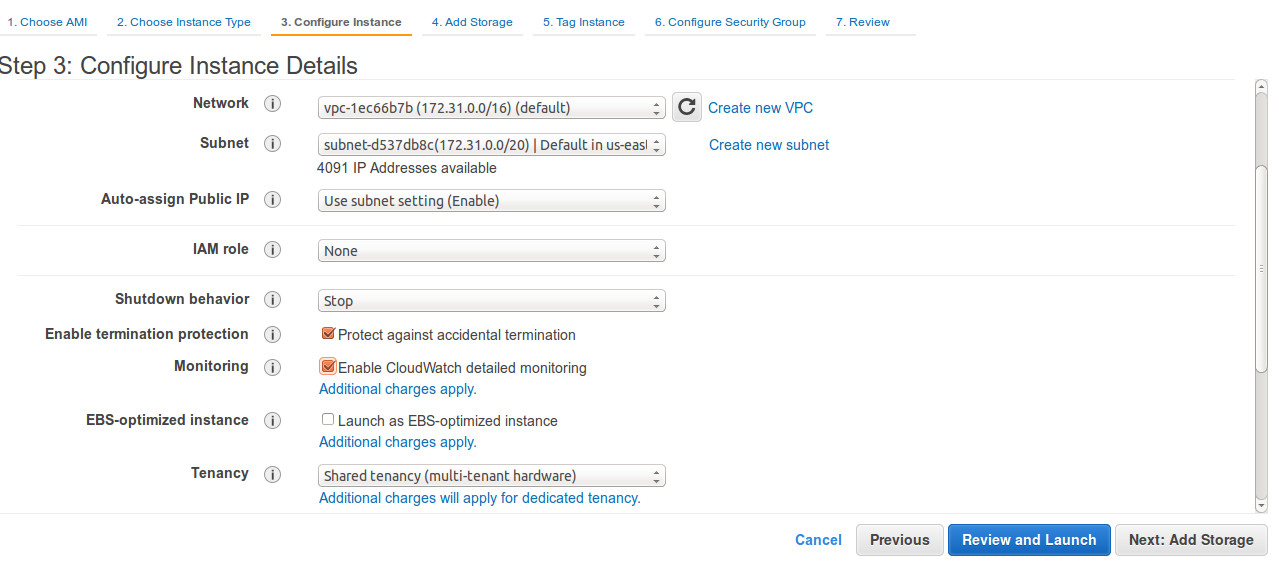
Step 3: Configure Instance details
Don’t forget to change shutdown behaviour of your instance to Stop. If you choose terminate then your instance is terminated after shutdown. Other options you can keep as it is.
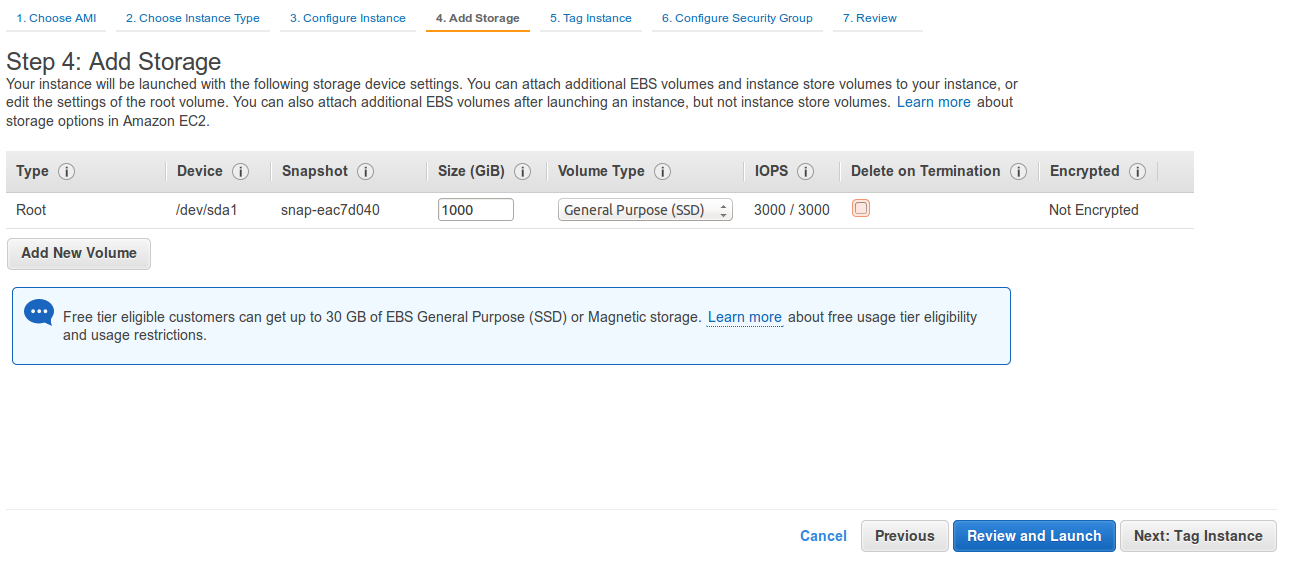
Step 4: Add Storage
Add storage as per your needs.
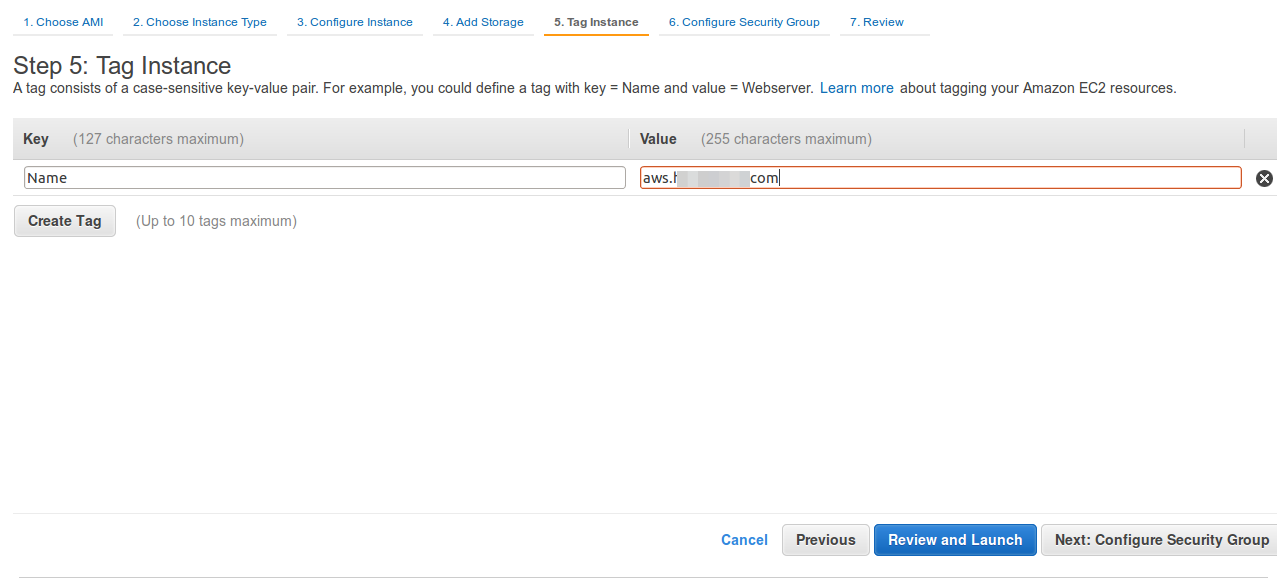
Step 5: Tag instance
Give instance unique name, so that we can identify that easily.
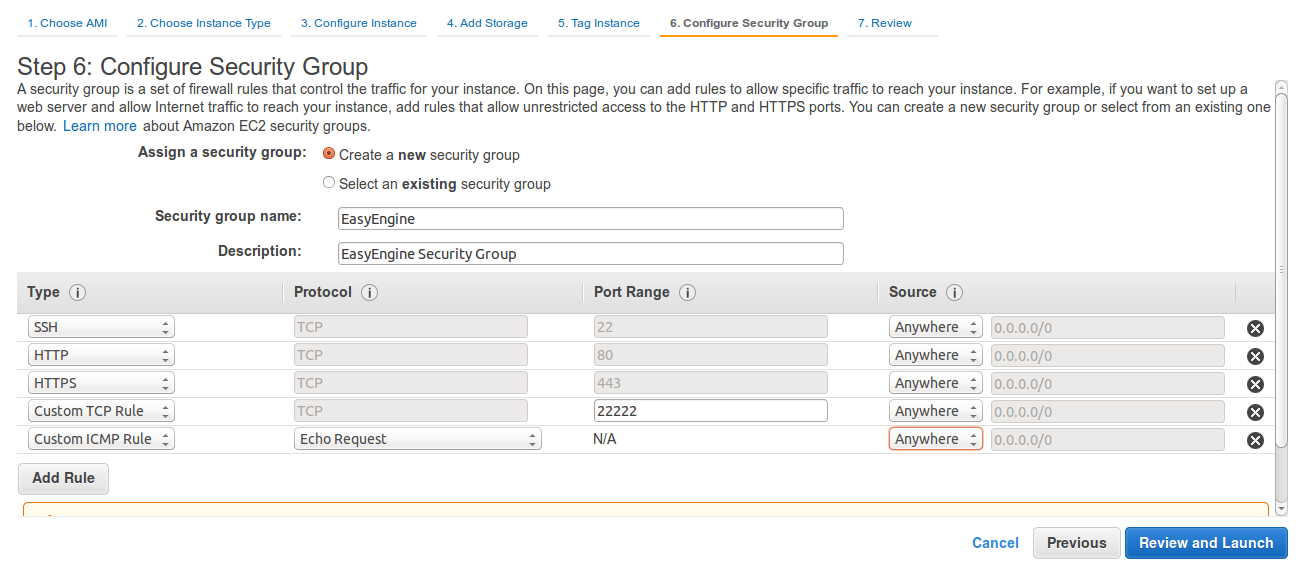
Step 6: Configure Security Group
EasyEngine requires access for following ports.
22: SSH
80/443:Default web
22222: EasyEngine admin tools port
Optional you can also enable ping request for server by enabling ICMP Echo request
Step 7: Review
Review the final configuration and click on Launch. 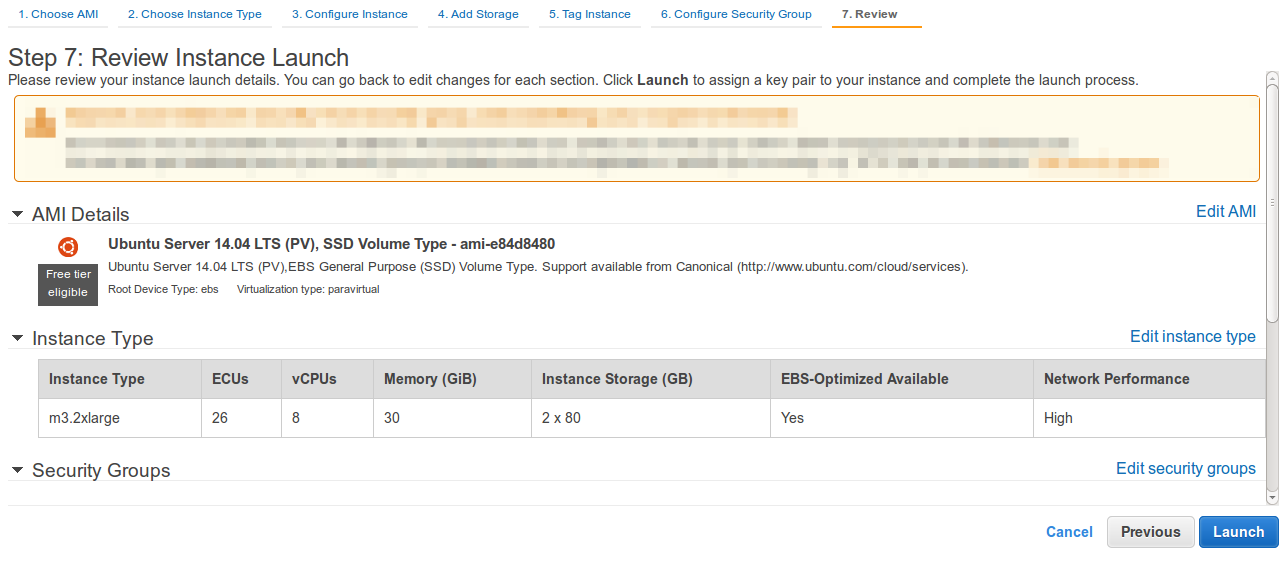 After completing the above steps you need to download PEM key given by AWS. In near about 5mins your instance will be created and then note down the public IP of the server. Now, use following commands to connect instance:
#Change permission of key file
chmod 600 key.pem

#Connect to instance
ssh -i key.pem ubuntu@<public-ip-of-ec2>