
Last updated on Nov 13, 2025
From the EasyEngine Dashboard, you can create high-performance serverless WordPress sites hosted via WP Cloud.
Steps to create a WP Cloud WordPress site
1. Navigate to the site’s listing page
Click on Add Site.
Notes: If the ‘add site’ button is disabled, please add your WP Cloud key under Org settings → Cloud provider (tab).
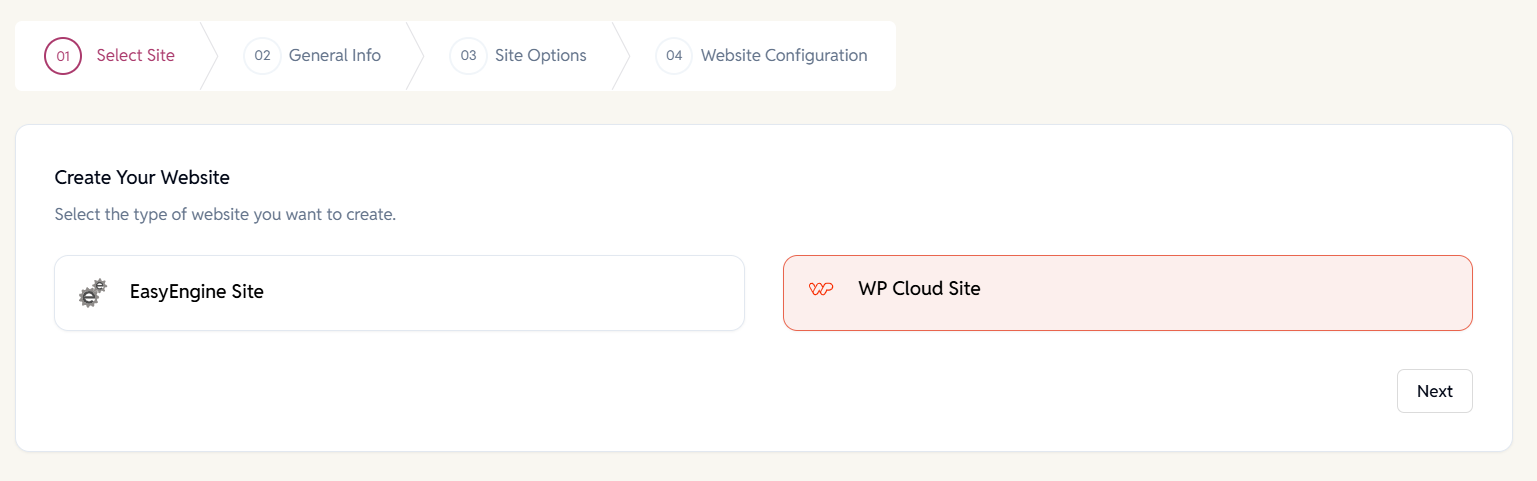
2. Select WP Cloud site and proceed to the next step
3. Enter General Info
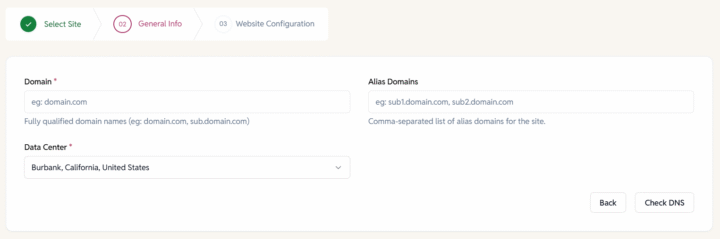
- Enter domain name.
- Choose a data centre from the drop-down list:
- Amsterdam, Netherlands
- Dallas/Fort Worth, Texas, United States
- Washington, D.C., United States
- Burbank, California, United States

- Click Verify DNS
DNS success: Proceed to the next step.
DNS warning messages –
“We were unable to verify that your domain is correctly pointing to the WP Cloud IP addresses (192.0.79.147, 192.0.79.170). Please check your DNS settings, or click Next to proceed.”
“The DNS records for are not set up correctly. Please ensure that the domain points to the server’s public IPv4 address.”
Note: We suggest you update your DNS records for the domain.
If you are proceeding without it, keep SSL unchecked; otherwise, site creation will fail.

4.a. Site Configuration
When creating a site on WP Cloud, you’ll be asked to configure a few essential settings:
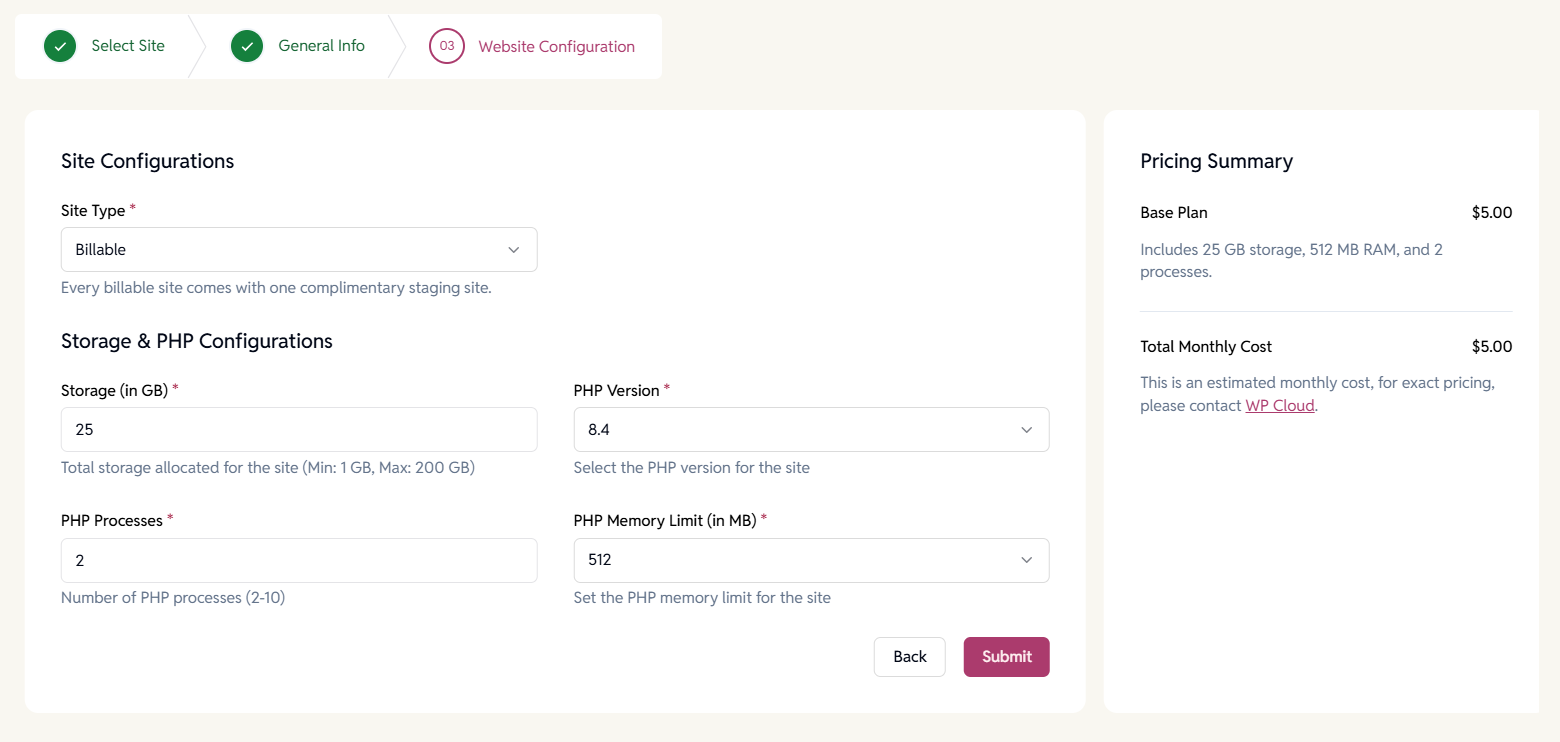
- Storage (in GB):
This is the disk space allocated to your website for code, media files, cache, and database.
Default: 25 GB | Max allowed: 200 GB
These limits are set by WP Cloud. - Site Type:
Choose how this site is categorized in your workspace. This helps with billing, quota management, and deployment.
Note:
WP Cloud offers one free Staging site for every Billable site.
So if you have 3 billable sites, you can create up to 3 staging sites at no extra cost. Only Billable sites count toward your paid site quota. Staging is free and cannot be used as production.- Billable site is a production or live site that will be charged monthly.
- Staging site is a clone or test version of a billable site for development or QA purposes.
- PHP Version:
Select a supported PHP version for your WordPress site.
Available versions: 8.1, 8.2, 8.3, 8.4 (latest)
Choose the version based on plugin/theme compatibility and performance needs.
We recommend using the latest version for better performance and security, unless your app requires older compatibility.
- PHP Processes:
Default: 2 (up to 10).
This controls the number of PHP worker processes that can run concurrently. - PHP Memory Limit (in MB):
Options: 512, 1024, 1536, 2048 MB
This sets the maximum memory a PHP process can use.
4.b. Final Step – Submit Your Site
Once you’ve configured all the settings, click the Submit button to create your site.
The status will change to ‘Live’ once the site is successfully created and ready to use.
DNS Not Set Up Yet?
If your domain’s DNS isn’t yet pointing to WP Cloud, no worries.
You can still proceed, but you’ll need to update the DNS records manually:
- Copy the IPs shown in the site header section

- Go to your domain registrar’s DNS settings
- Add/update the A records to point to the provided WP Cloud IPs.
Note: DNS propagation might take a few minutes to a few hours, depending on your registrar. Once your domain DNS is correctly configured, your site will be fully accessible.